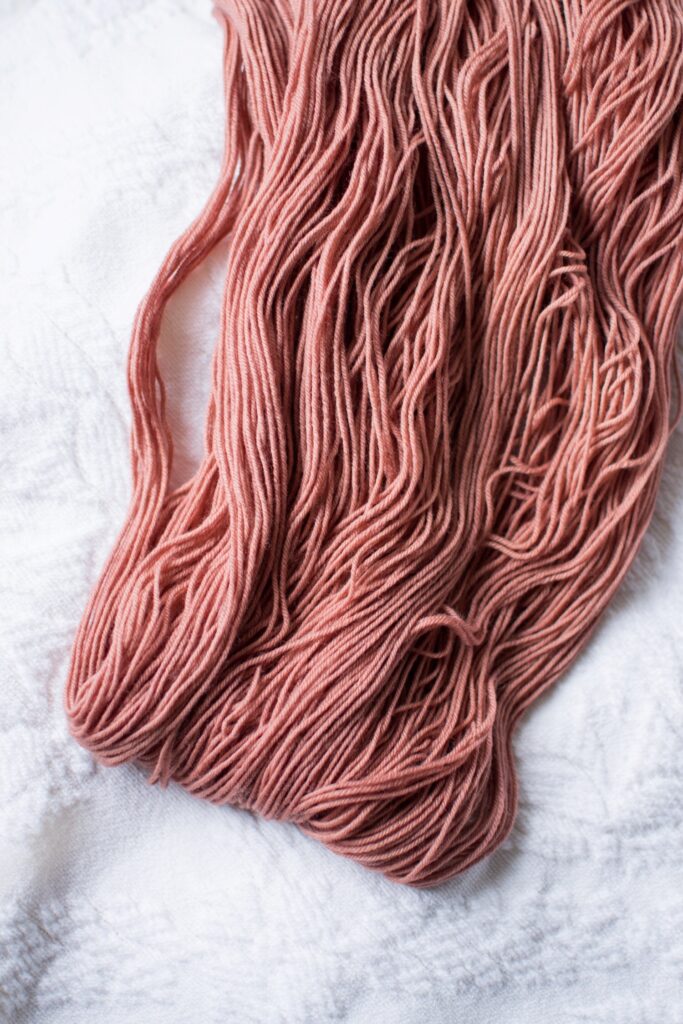
I recently dyed yarn with avocados for the first time and I can’t believe I waited so long to try this out! I shared the entire experience and step-by-step tutorial on Instagram here and it continues with rounds 3 and 4 here! I absolutely fell in love with this process. It’s simple, easy, and so much fun!
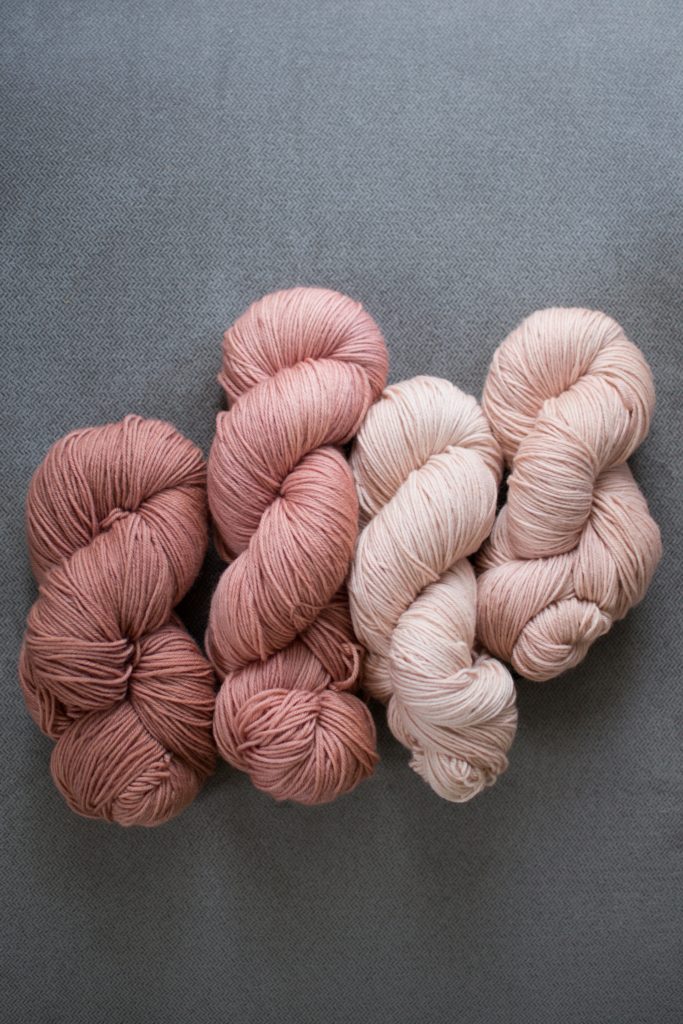
I love the idea of more eco-conscious, sustainable fibers so dyeing yarn in my own kitchen with natural dyes has always appealed to me. What drew me in to using avocado was the gorgeous mauve pink hues that the avocados produce. At first thought, you would think avocados would produce a green dye… but it’s the most gorgeous shade of pink!
Pin this Post
Another aspect I loved about this side project was how inexpensive it was. I bought 3 bare skeins of yarn from Knit Picks and they cost $7-$10 each. If you’re looking for hand-dyed yarn for a shawl or special project, it doesn’t get much better than that!
Some of the links in this post may be affiliate links, meaning, at no additional cost to you, I will earn a commission if you click through and make a purchase.
So let’s get into the details! I’ll be sharing exactly what I used and breaking down exactly what I did for each round of dyeing. Like I said in the beginning, this was my first time dyeing with avocado! Feel free to play around with your dyeing process and see what works best for you!
What You’ll Need
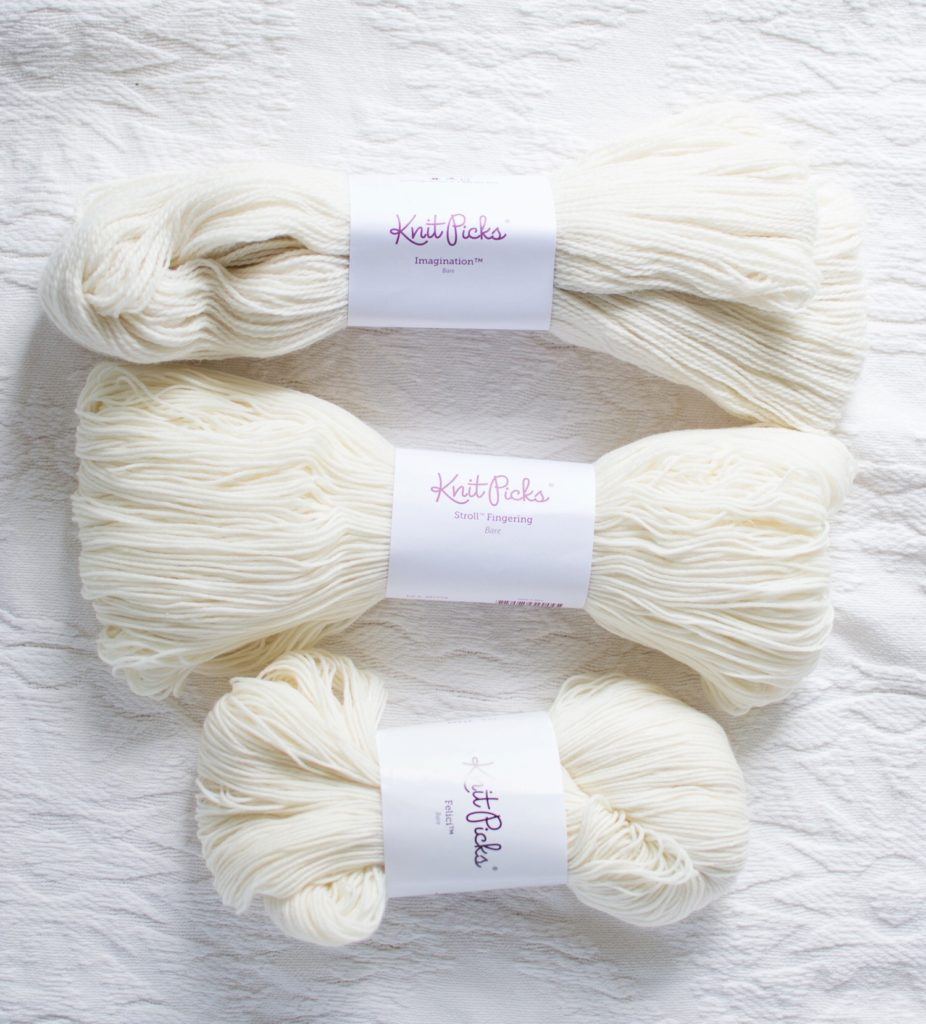
- Yarn – Natural fibers like wool and cotton work best for natural dyes. Knit Picks has a great selection of bare yarn to choose from! I chose Felici, Stroll, and Imagination.
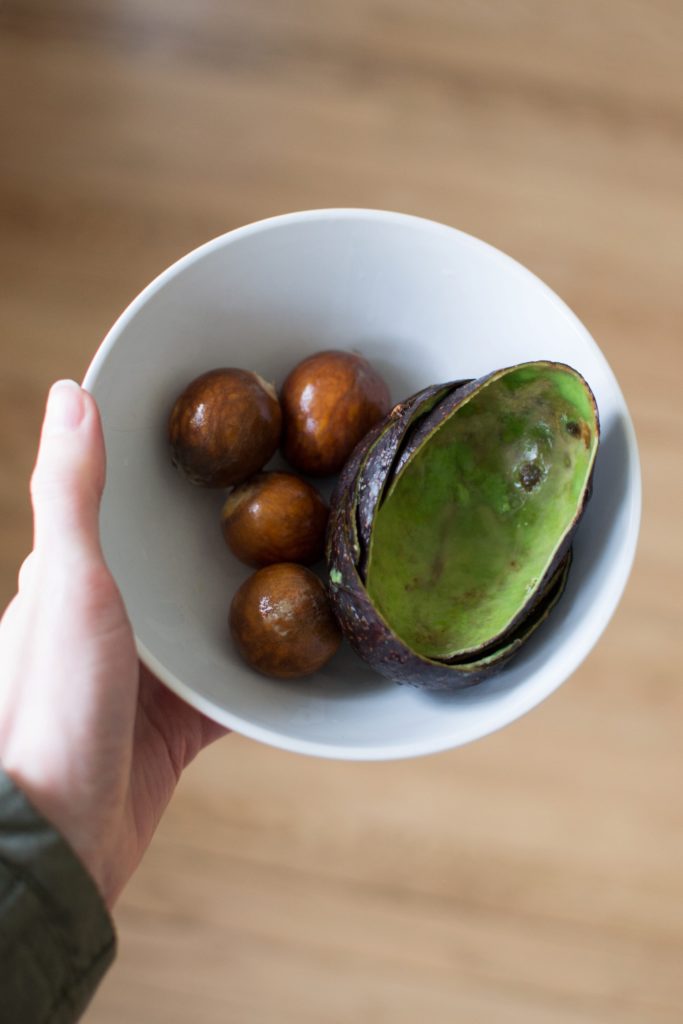
- Avocados – It’s up to you how many you use. I used anywhere between 1-5 avocados for each round.
- Stainless steel pot – Pots made out of reactive materials such as aluminum can change the color of your dye.
- Zip ties – These help make sure your yarn doesn’t get tangled in the dyeing process and make it much easier to grab the yarn out of the pot!
Why You Don’t Need a Mordant
A mordant is a substance that helps the dye stick to the material you’re dyeing. In most cases, you would use a separate substance such as alum or cream of tartar to act as a mordant with natural dye. The magic of dyeing with avocados is that you don’t need any mordant! The avocado pits contain tannin, which acts as a mordant and helps the dye bind to your fiber.
Choosing Your Yarn
I mentioned earlier that I tried three yarns from Knit Picks: Felici, Stroll, and Imagination. I didn’t end up dyeing Imagination, because I loved the look of it natural! It has a little bit of alpaca in it and I loved the fluffy, pretty texture just how it was.
Felici and Stroll are both made up of the same blend of 75% superwash merino and 25% nylon and they are both BEAUTIFUL I will say that I did like Felici better and felt like it held up a little better in the dyeing process, but that’s just my personal preference.
The Process
Here’s the step-by-step process of how to dye your yarn. If you’d like to see the video of this process, check out my Instagram story here to watch me go through each step of the process!
to watch me go through each step of the process!
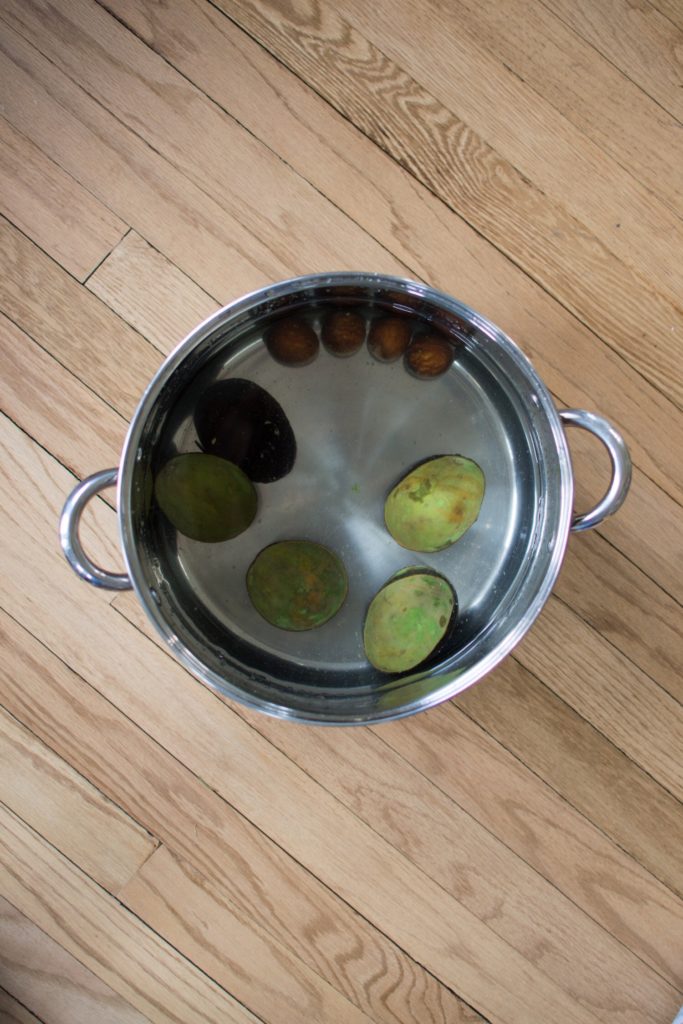
- Clean your avocado pits and peels. Remove any bits of avocado and if you’re not using them right away, put them in the freezer until you’re ready to dye. Note: I used both the pit and peel, but you can try using one or the other to get slightly different colors!
- Fill your pot about half full, making sure there will be more than enough water to cover your yarn.
- Simmer (not boil) your avocado pits and peels in water. You can simmer as long as you like to get the color you’re looking for! I let the dye sit overnight to get a rich, deep color but I’ll go into more detail of the timing in each round of dyeing below.
- Soak your yarn in water until it is completely wet.
- Add your yarn to the dye pot and simmer (again, do not boil!) your yarn until you like the color.
- Remove your yarn from the dye pot and set aside to cool.
- Once your yarn is completely cool, gently rinse it in cold water until the water runs clear.
- Hang your yarn and let it air dry!
Round 1
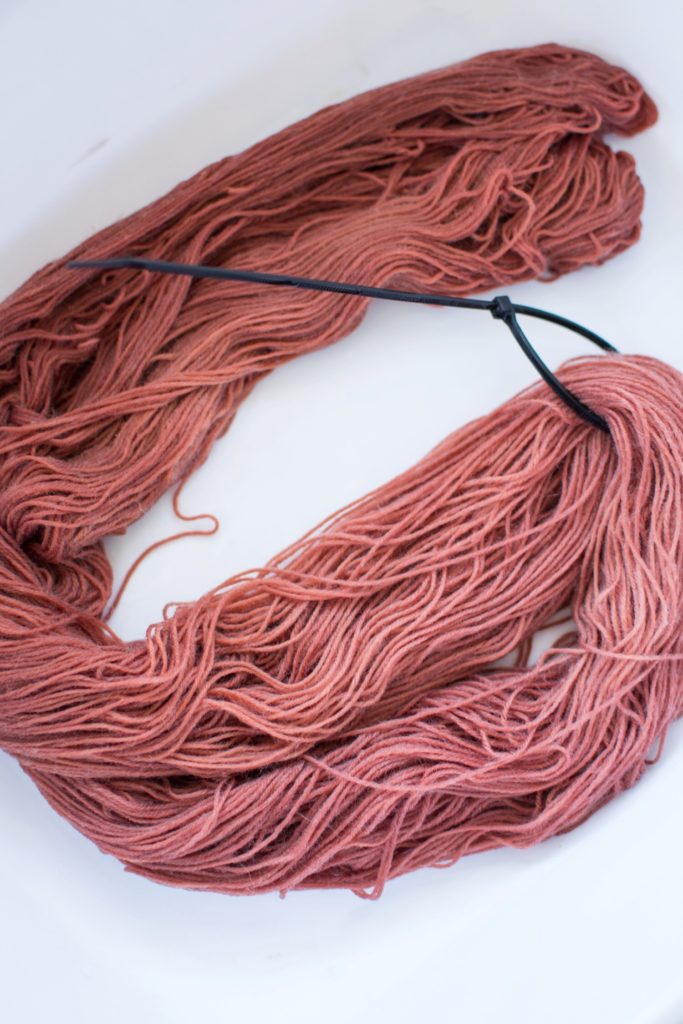
For the first round, I simmered 5 avocado pits and 4 avocado peels for about 3 hours. Then I let the dye sit over night. The next day, I added the skein of Felici to the dye pot and simmered it for about an hour. I let the yarn sit in the dye for a few hours before removing it and letting it completely cool. Once it was cool, I rinsed it off, let it dry, and this was the result!

It was my favorite skein so far that I’ve dyed! I wanted a deep, rich color and that’s exactly how it turned out. I love the warm shade of pink with subtle brown undertones. The color is slightly earthy, but so modern and chic at the same time.
Round 2
For the second round, I used 2 avocado pits and peels. I simmered these for about 3 hours and again, let the dye sit overnight. The next day, I added the skein of Stroll yarn and simmered the yarn for about 15 minutes. I removed the yarn right away and let it cool before rinsing it.
The result was still such a rich, beautiful pigment! It’s slightly lighter, but still the same gorgeous pink hues.
Round 3
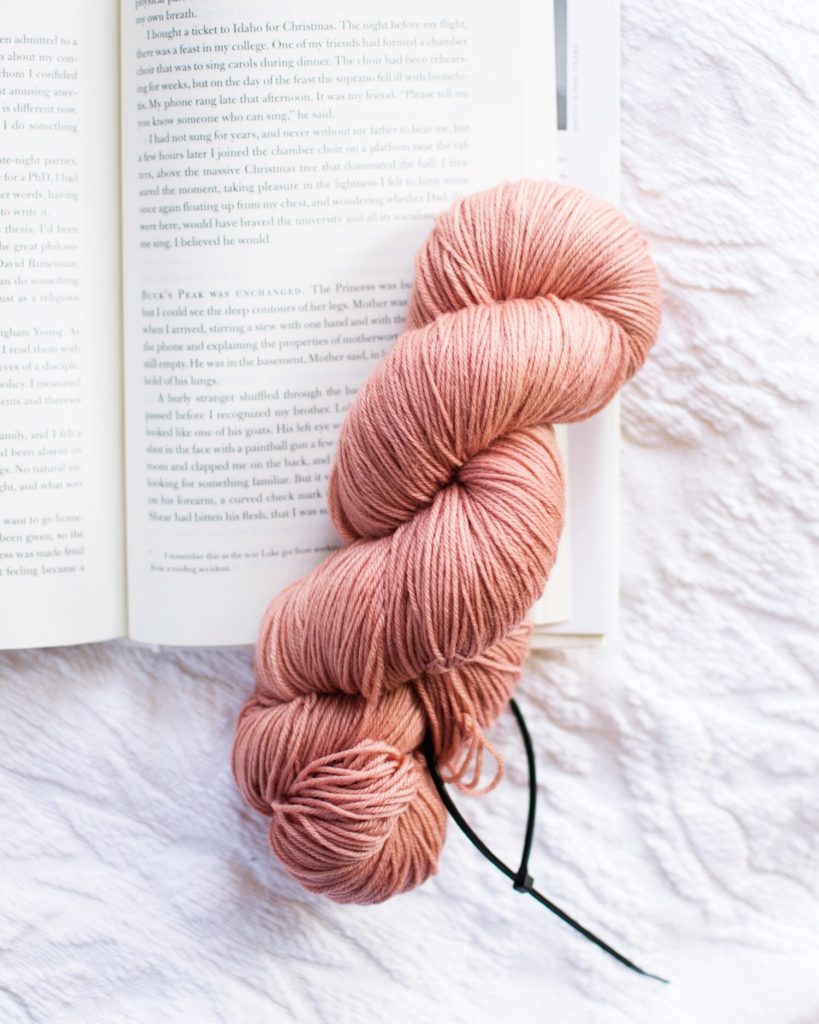
For this round, I used Felici again but wanted a softer blush pink! I used 1 avocado pit and peel and simmered it for about 30 minutes before adding the yarn in. It wasn’t quite as pigmented as I wanted, so I put the avocado pit and a couple pieces of peel back in with the yarn and let it keep simmering. I don’t think that made much of a difference, because the yarn picked up all the pigment even after I let it simmer with the pit and peel after for an hour.
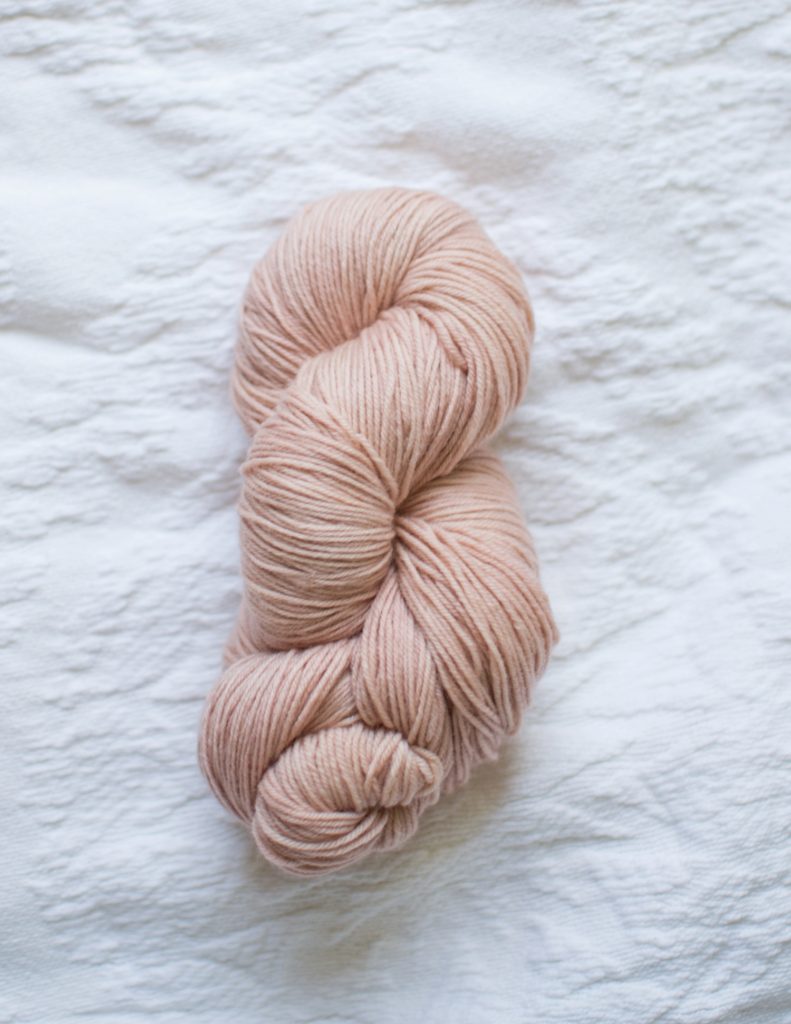
It ended up being such a beautiful, soft blush!
Round 4
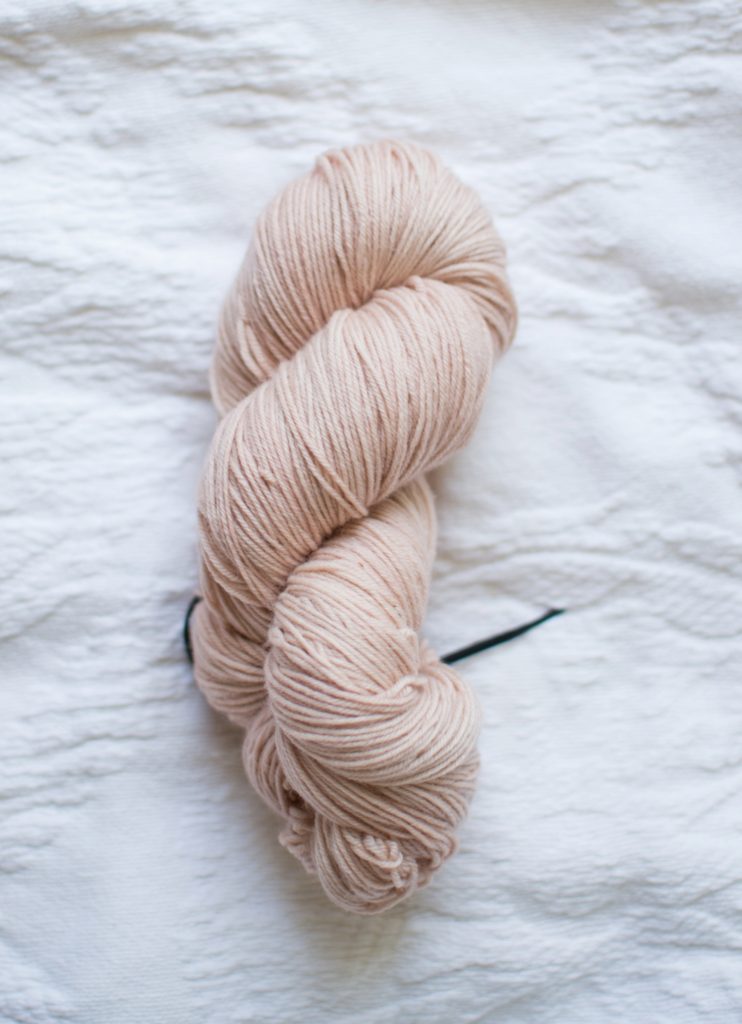
I felt pretty confident going into this last round! I used Felici again, and wanted the outcome to be just slightly darker than the last round so I used 2 pits and 2 peels. I simmered the pits and peels for 35 minutes and then added the yarn! I took the pits and peels out, added the yarn into the dye, and let it simmer for about 20 minutes. This was probably the quickest, easiest one to dye and I loooove the result. It’s a light, peachy pink and it rounds out my color palette perfectly!
The Results
I never expected to love this process so much, and the results are even more beautiful than I imagined. It was truly so easy, and so much fun! I learned so much, gained a lot of confidence in what I was doing and at the same time, I felt like this taught me to let go. There’s no exact science and so it really taught me to give up control and just appreciate the process and love the outcome exactly how it was.
I laid all my hanks side by side so you could see the subtle difference between the shades. They are in the order that I dyed them, so on the left is Round 1 and the far right is Round 4. Aren’t they gorgeous?! I am obsessed (obviously).
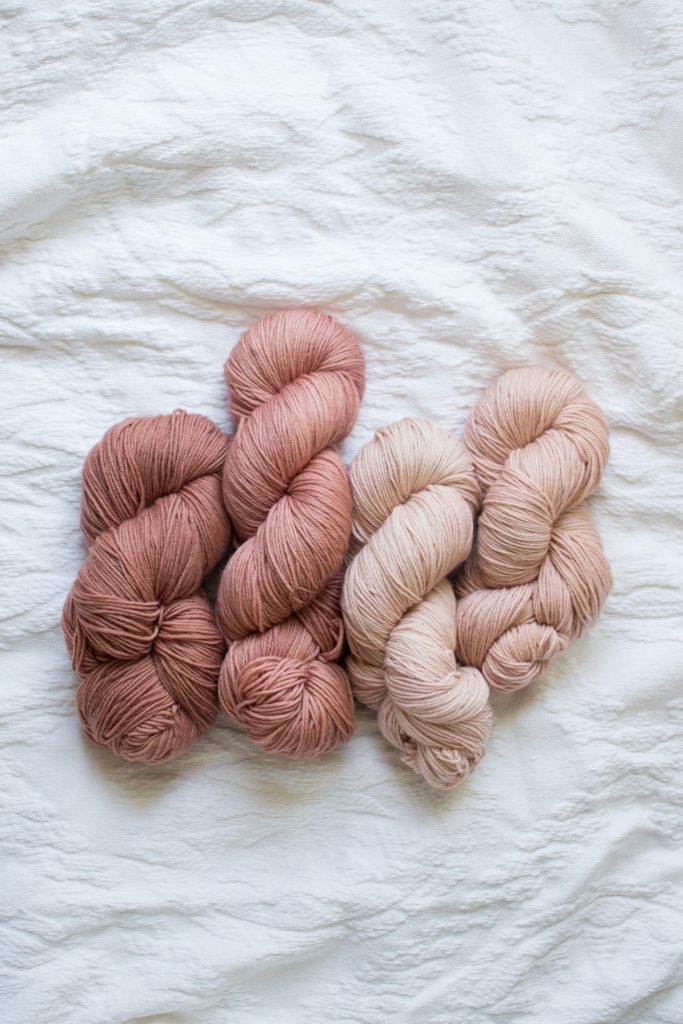
Before I use these, I will cake them up using my ball winder and swift. If you enjoy using hand dyed yarns, I highly recommend getting a winder and swift! They make life so much easier when you cake up your yarn to use it for a project!
Also, just a random side note… but I found out that Knit Picks sells a starter kit for beginner yarn dyers. If I’m being honest, I’m a little addicted and pretty tempted to try it out next!
Hope you enjoyed this post! If you end up dyeing your own avocado yarn, tag me on Instagram at @woodsandwool so I can see how yours turns out!

This is amazing! I’ve been searching for a pink yarn exactly like this for a shawl for my son’s wedding. I will definitely give this a go! Thanks for sharing this!!!