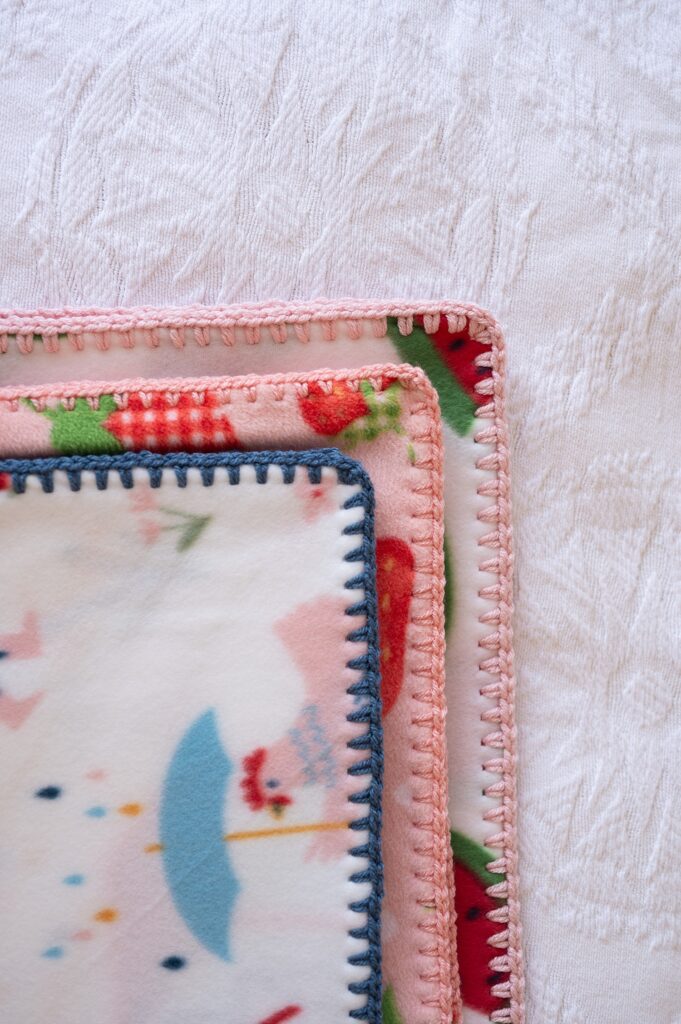
Mix up your crochet by learning to add a crochet edge to a fleece blanket! Once I learned how easy this was, I couldn’t stop making these easy handmade blankets.
One of my favorite parts of this project was picking out the fleece fabric design and coordinating yarn with my toddler. We had so much fun and I loved having her be a part of the process. She chose the watermelon fabric for hers and helped me pick out the other two fabrics for gifts! It’s a really fun way to involve your little ones in the experience and made it so special for both of us.
This fleece blanket with a crochet edge is such a fun and easy DIY project. Whether you’re advanced or new to crochet, you’ll be surprised at how quick and simple the process is – just wait until you see the 60 second tutorial video below!
Keep scrolling for the full tutorial and don’t forget to pin this post for later!
Pin this post!
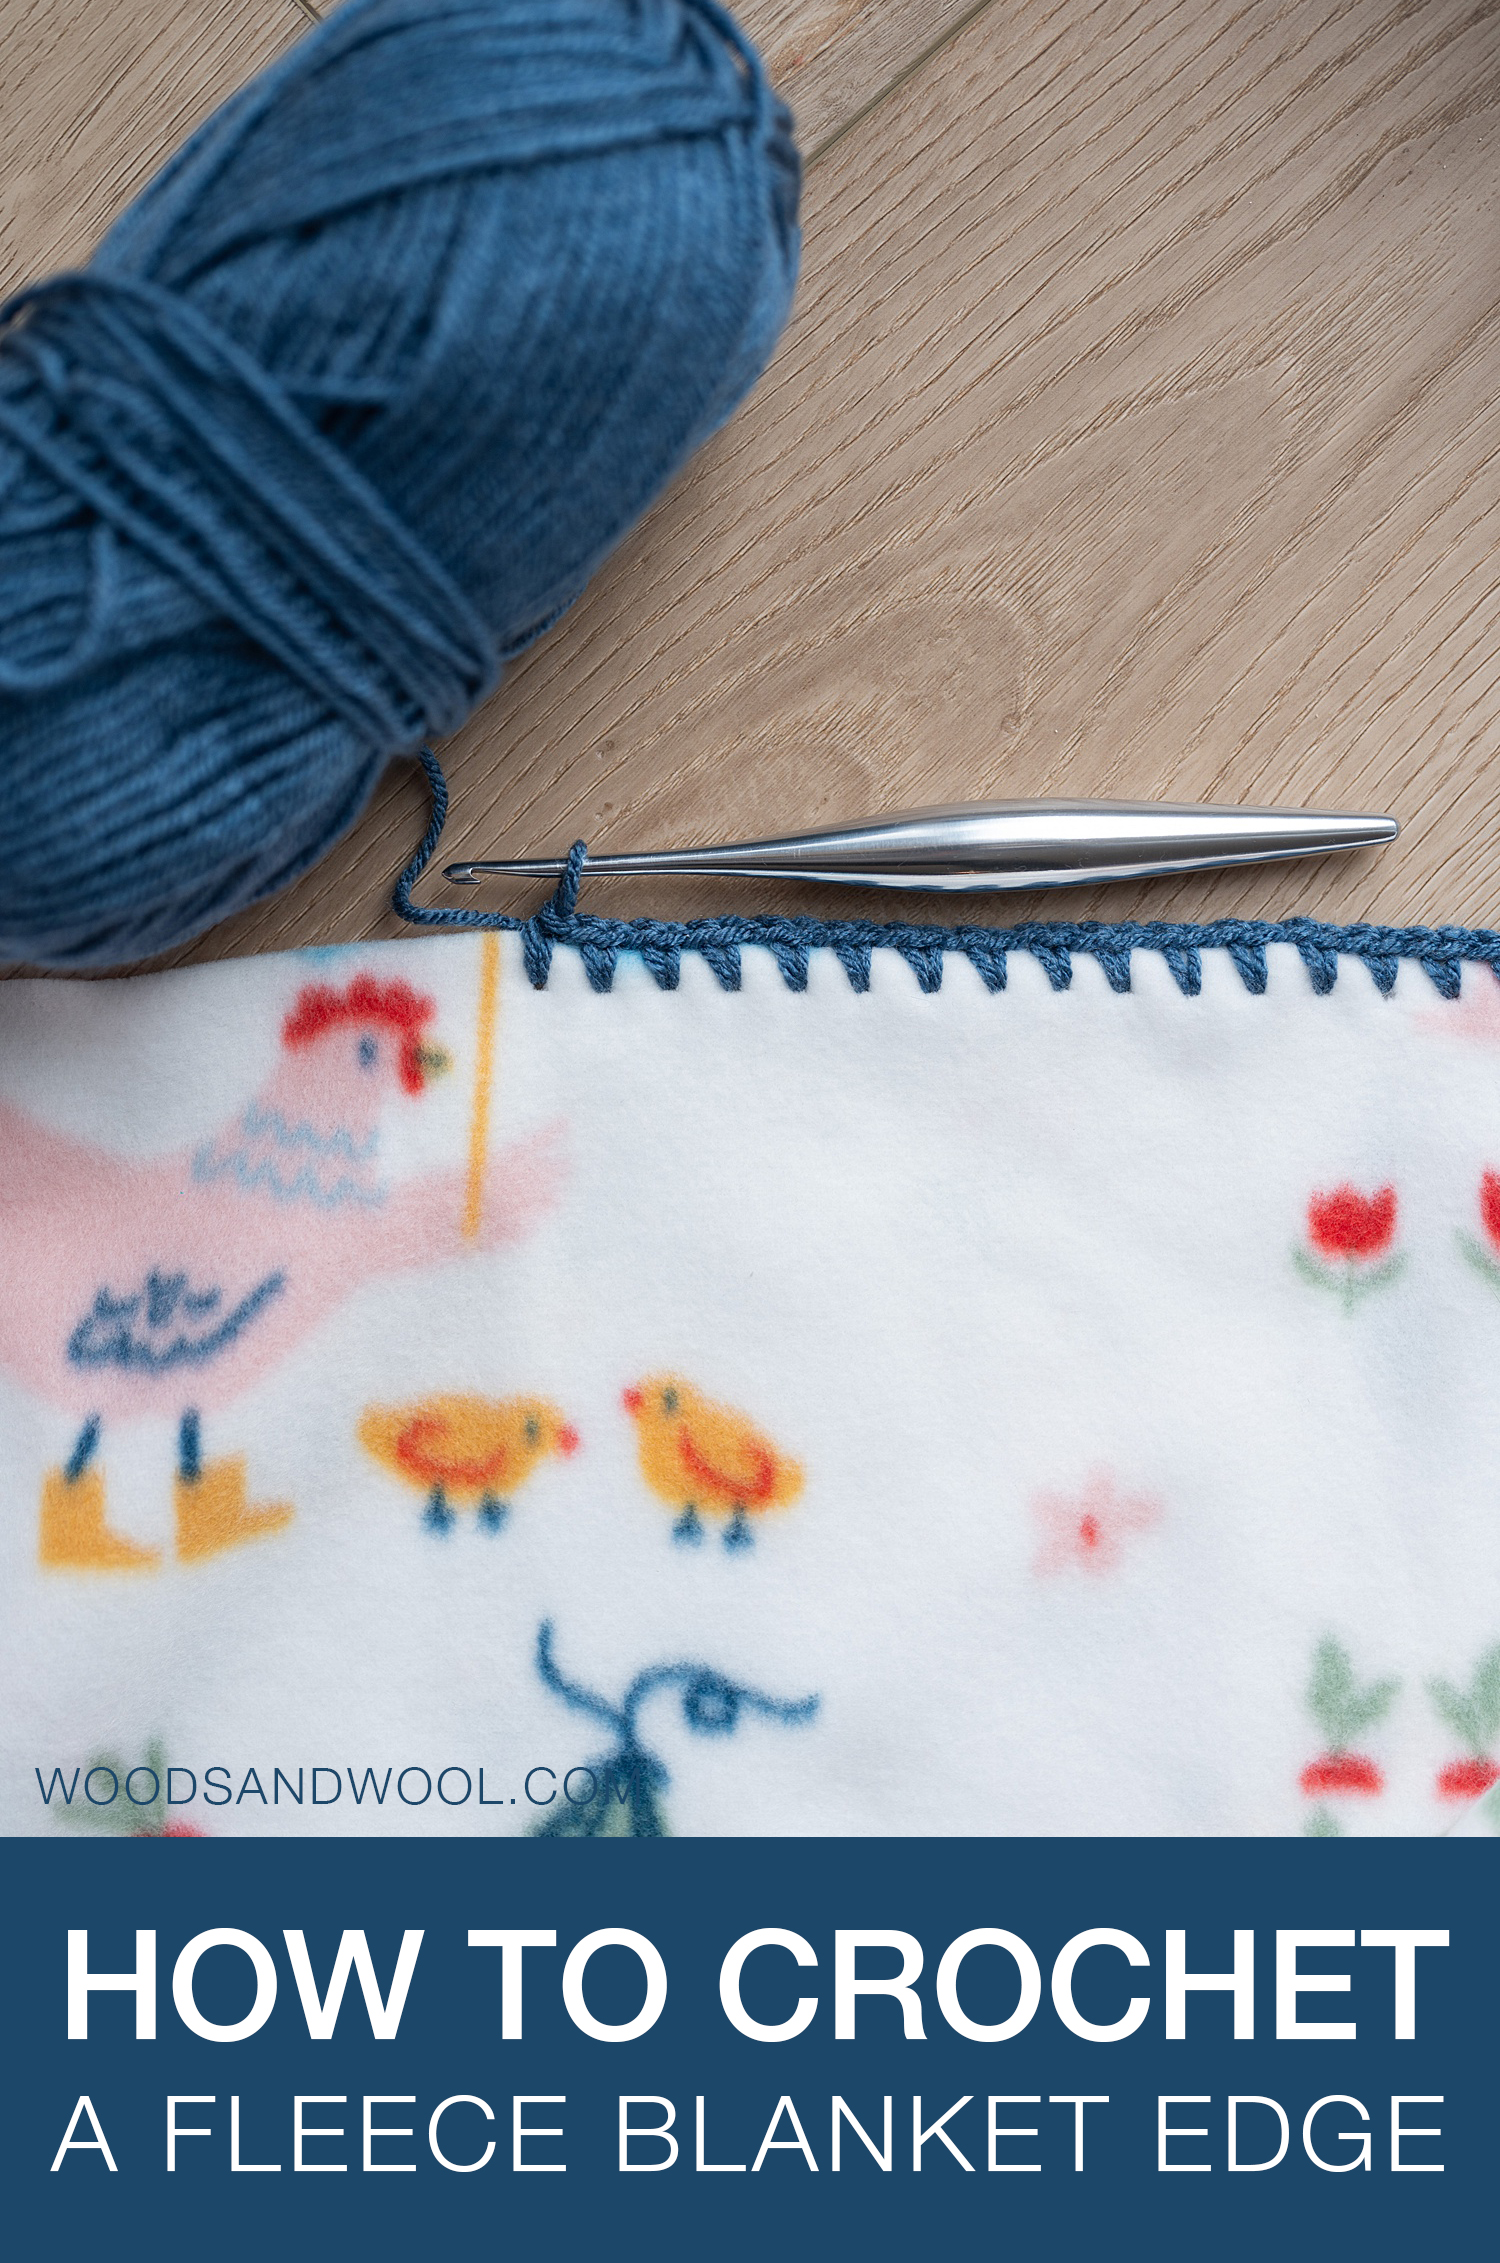
Supplies
For this project, I bought my yarn and fleece fabric from JOANN. I used a crochet hook I already had, then borrowed cutting supplies from my mom (thanks, mom!) but I’ll include links to similar items below.
- Fleece Fabric – I asked for 1.5 yards, then kept both layers folded together for the blanket. This made each final blanket about 30″x40″.
- Crochet hook – I’m using a 4mm Furls Metal Streamline hook. A smaller hook with a sharp tip is easiest to work into the fabric!
- Yarn – I used a worsted weight 100% acrylic yarn from JOANN. It’s very similar to Color Theory yarn from Lion Brand.
- Cutting Mat
- Fabric Cutting Ruler
- Rotary Cutter (this one comes with a perforating blade)
- Perforating Blade (available separately if you already have a rotary cutter)
- Scissors
- Tapestry needle
Some of the links in this post may be affiliate links, meaning, at no additional cost to you, I will earn a commission if you click through and make a purchase.
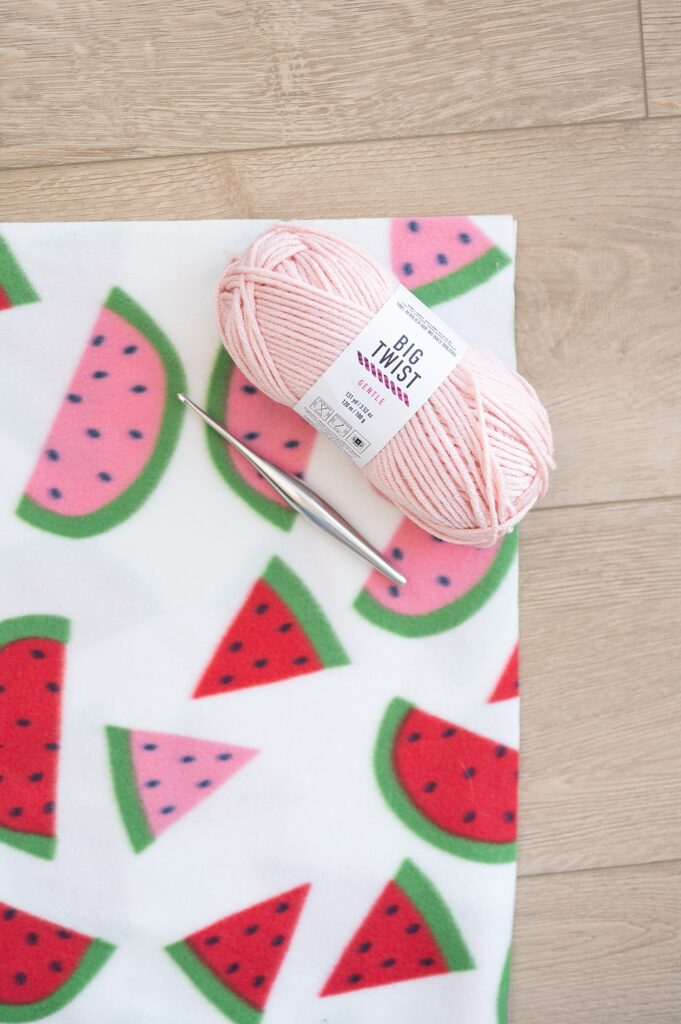
How to Crochet an Edge on a Fleece Blanket
Adding a crochet edge to a fleece blanket is so fun and easy! Watch the 60 second tutorial or follow the step-by-step instructions listed below.
Step-by-step instructions:
- Align a ruler to use as a guide before cutting.
- Cut your fleece using a rotary cutter or fabric scissors.
- Align your ruler 1/2” from the edge of your fabric.
- Use a perforating blade in your rotary cutter to create holes in your fleece.
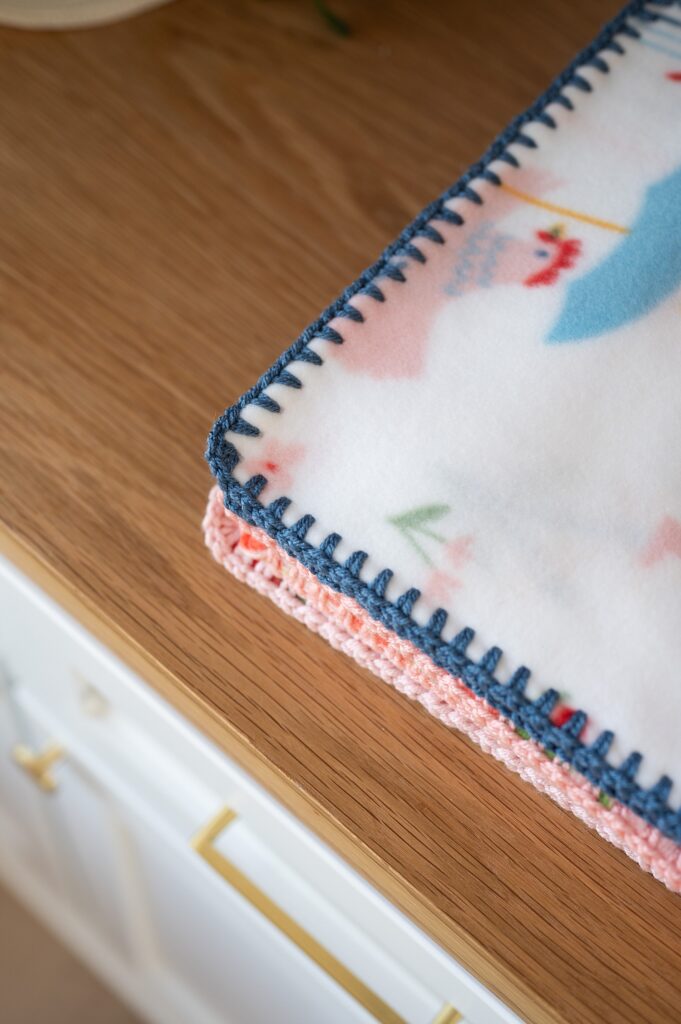
- Crochet into each hole around the edge of your blanket. I did (sc, ch 1) into each hole.
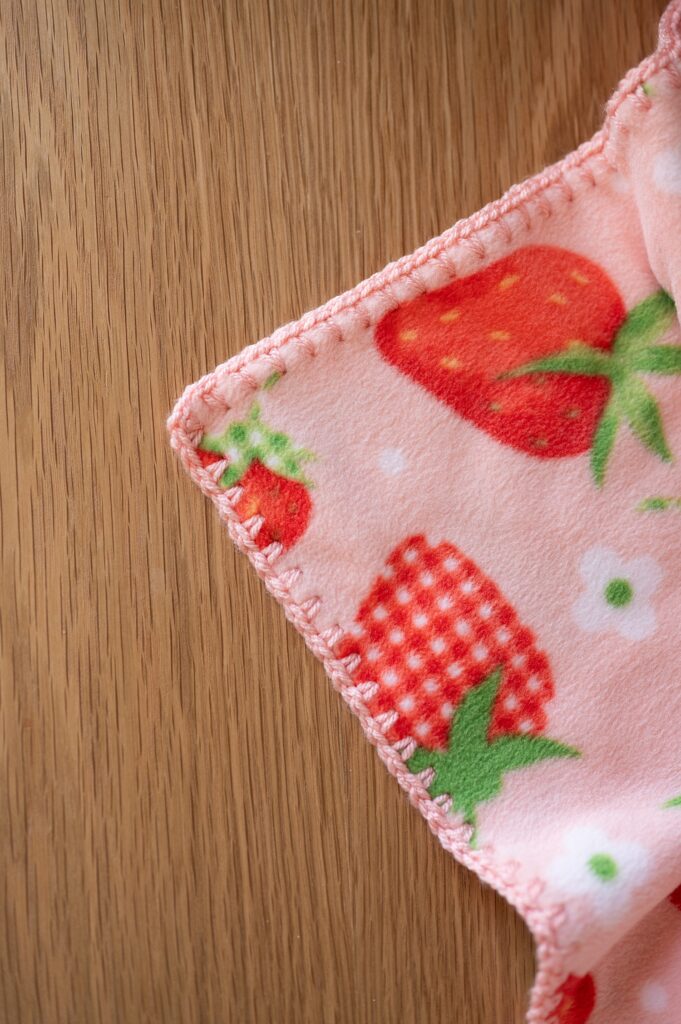
- Work 2 (sc, ch 1) stitches into the corner. (Pro tip: Trim your fleece for a rounded edge at the corner to get the fabric to lay flat).
- At the end, slip stitch to the first stitch of the border and weave in your ends.
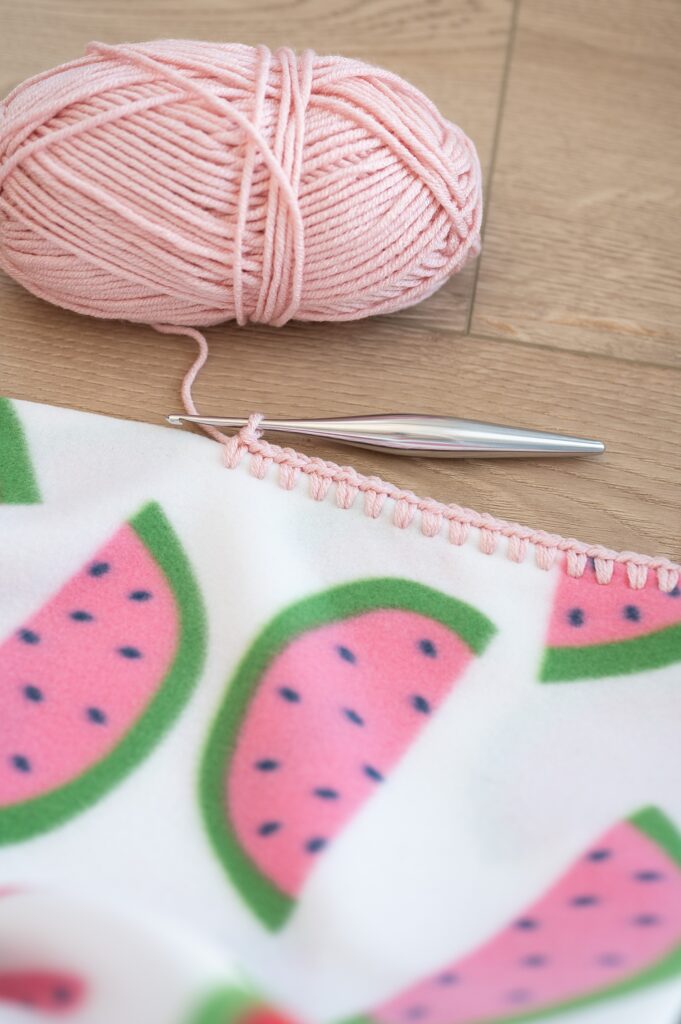
Frequently Asked Questions
When I posted these fleece blanket crochet projects over on my Instagram, I got a LOT of questions! In this FAQ, I’ve answered the most-asked questions.
Is this easy enough for a beginner?
Yes! This is definitely a beginner-friendly crochet project. You’ll need to know how to chain and single crochet for this project, along with some basic skills like tying a slip knot and weaving in your ends.
What kind of yarn should I use?
I used a worsted weight 100% acrylic yarn from JOANN. It’s very similar to Color Theory yarn from Lion Brand. You can use any yarn you like; I recommend choosing a machine washable yarn for easy care so you can throw your finished blanket in the washer and dryer.
What kind of crochet hook did I use?
I used a 4mm Furls Metal Streamline hook. I found a smaller hook with sharp tip was easiest to crochet into the holes of the fabric.
What cutting tools did I use?
I borrowed my mom’s tools (thanks, mom!) and purchased a perforating rotary blade separately to create the holes in the fleece. For cutting tools, I recommend having a Cutting Mat, Fabric Cutting Ruler, Rotary Cutter with a Perforating Blade, and Scissors.
Where to buy the fleece fabric?
I bought my fleece fabric from JOANN. It was an easy and convenient way to go pick out fabric in person and very fun for my toddler to tag along and pick out her own fabric too! Once I got my fabric, I went straight over to the yarn aisle to find a coordinating yarn to go with it.
What size did I make and how much fabric did it use?
I asked for 1.5 yards of each fabric, which resulted in each blanket being about 30″x40″. I kept the fabric folded flat, making each blanket two layers thick.
Do you use a double layer of fleece?
Yes, I did! You can either fold your fabric to make 2 layers, purchase a different fabric to use on the other side, or even make your blanket with a single layer of fleece.
How do you keep the pieces of fabric together?
Once I cut the fabric, I started crocheting in it right away. The fleece sticks to itself nicely and once you have a few crochet stitches done, it holds together really well without any pins or stitch markers. If you’re making a larger blanket or planning to travel with your project, some safety pins would work really well to ensure your layers stay together.
Do you need to add any stitches to the blanket to keep the fabric together?
Nope! Once the border is done, the fabric stays together and lays flat.
Do you need to make holes in the fabric before crocheting?
Yes! The holes are essential to this project. You would need a very sharp crochet hook and a lot of muscle to crochet into fleece without any pre-cut holes.
How do you do the corners?
At each corner, I use scissors to round the edge of the fabric and remove any extra fabric to keep the corners from being bulky. As I’m crocheting, I work an extra (ch 1, sc) into the hole at each corner. (2 sc and 2 ch total in the corner hole). Check out this Instagram reel I created to show you more on the corners!
How does the blanket hold up after washing?
These blankets hold up great! I washed mine in a normal cycle with tap cold water, followed by a low heat setting in the dryer. Using a machine washable 100% acrylic yarn should hold up well with the fleece in the washer and dryer.
I hope you enjoyed this fun and easy crochet edge fleece blanket project as much as I did! If you enjoyed this content and want to support my work, I always appreciate when you shop through my affiliate links and pin posts like this on Pinterest. Thank you!! 🙂
