When I was in college, I decided to take a snowboarding class. Now let’s be clear – I had never set foot on a snowboard before, but since I went to school in one of the snowiest cities* in the US. We even had our own ski hill called Mont Ripley, which is where the name for the Ripley Cowl came from.
*In case you thought I was exaggerating, I meant it when I said it’s one of the snowiest cities in the US. It consistently snows about 200″ each season at Michigan Tech. I also absolutely adored everything about that place, including the snow. But I’ll save that for another time.
On the first day of class, it seemed like everyone else knew how to snowboard already… and I had no clue. I spent many hours on Mont Ripley, and have some of the BEST memories on that ski hill. While I was never that great at snowboarding, I got the hang of it enough to graduate from the bunny hill and go down the main slopes and some of the little side trails. There was nothing like the freedom and joy that you felt gliding through fresh powder.
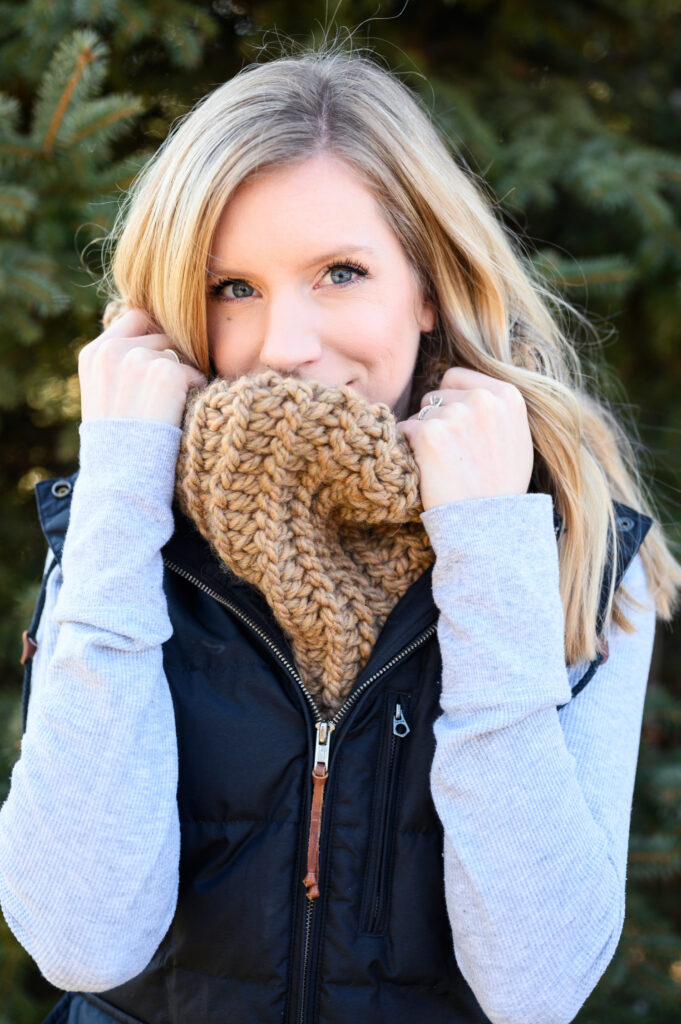
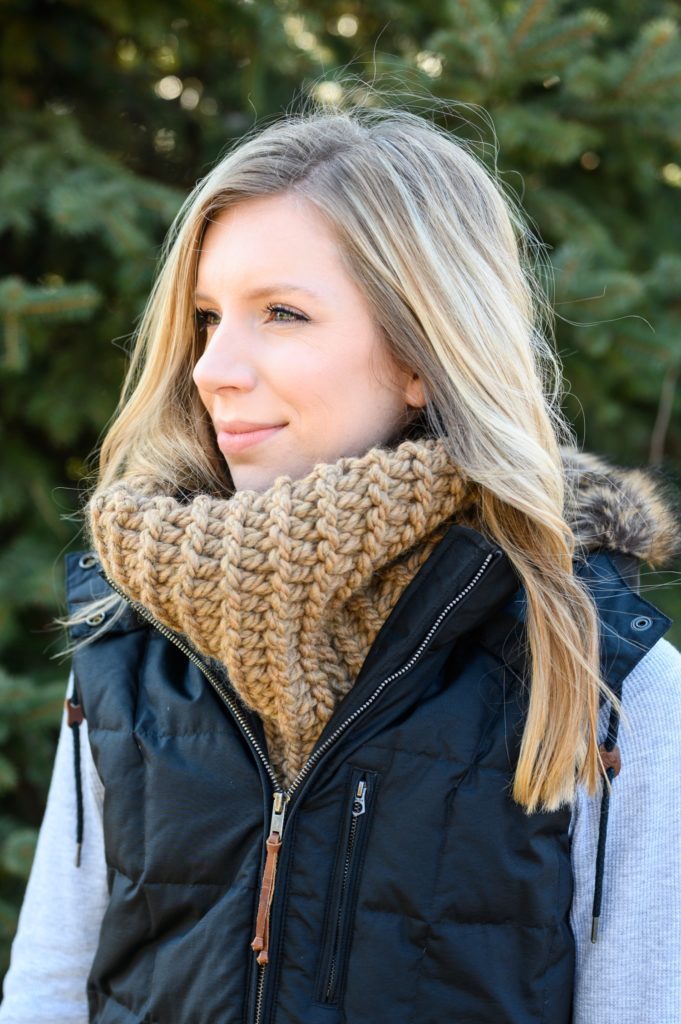
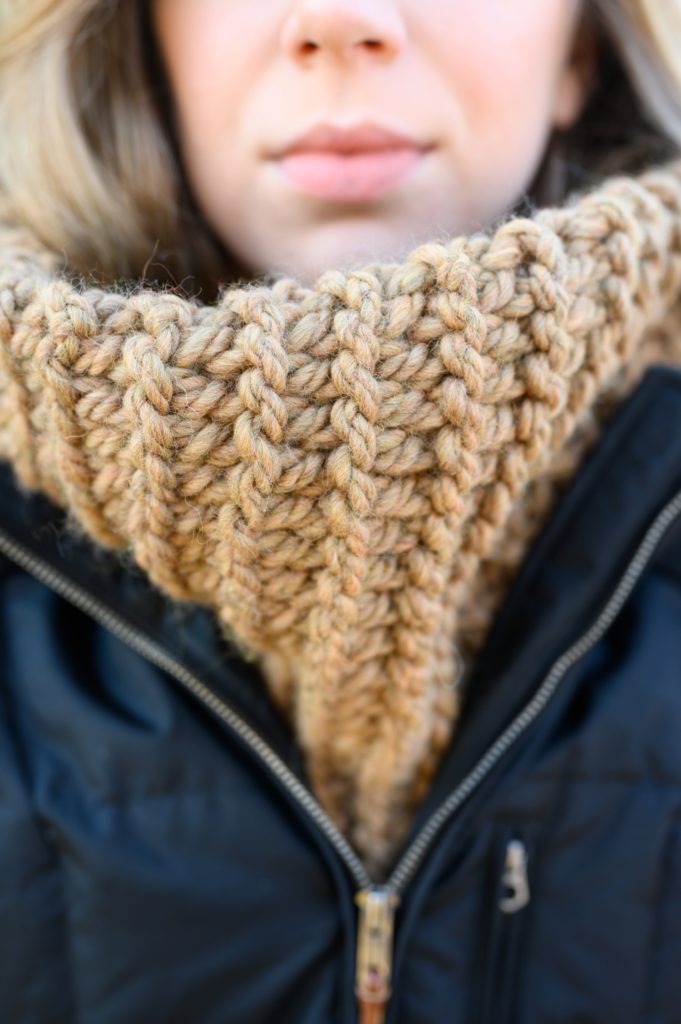
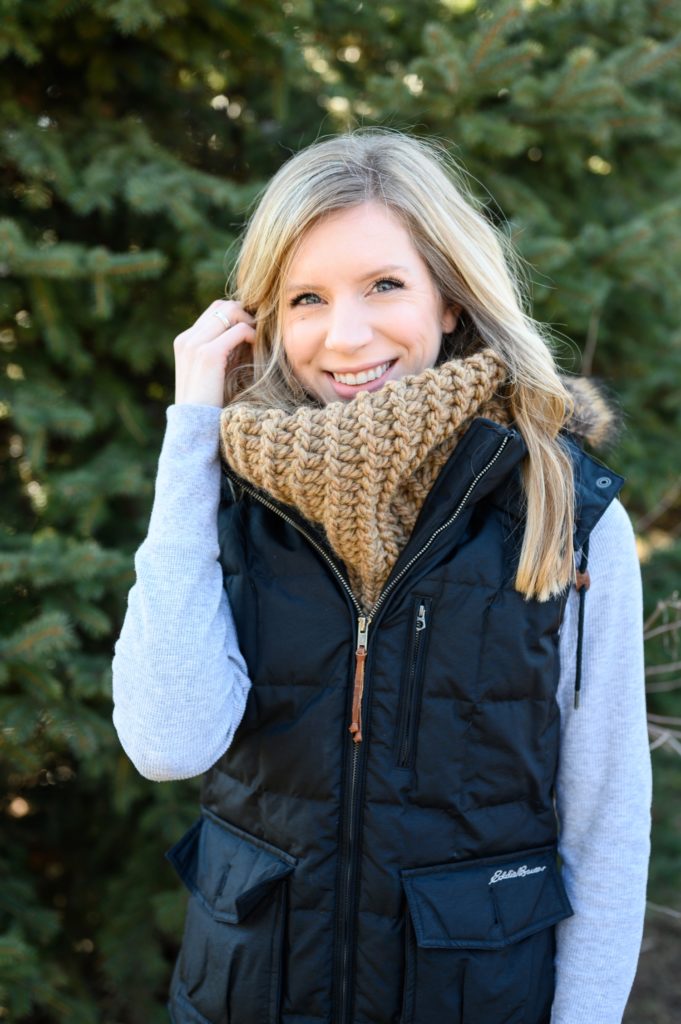
I remember standing on top of the ski hill one day with the wind whipping snow in my face. THIS is what this cowl is made for. And don’t worry, even if you’re not standing on top of a ski hill in a blizzard, this cowl is perfect for chilly winter days. Fold it over or use it to keep your face snug and cozy. It’s versatile and looks so cute sticking out of your winter jacket!
Get the PDF version of this pattern on Etsy or Ravelry!
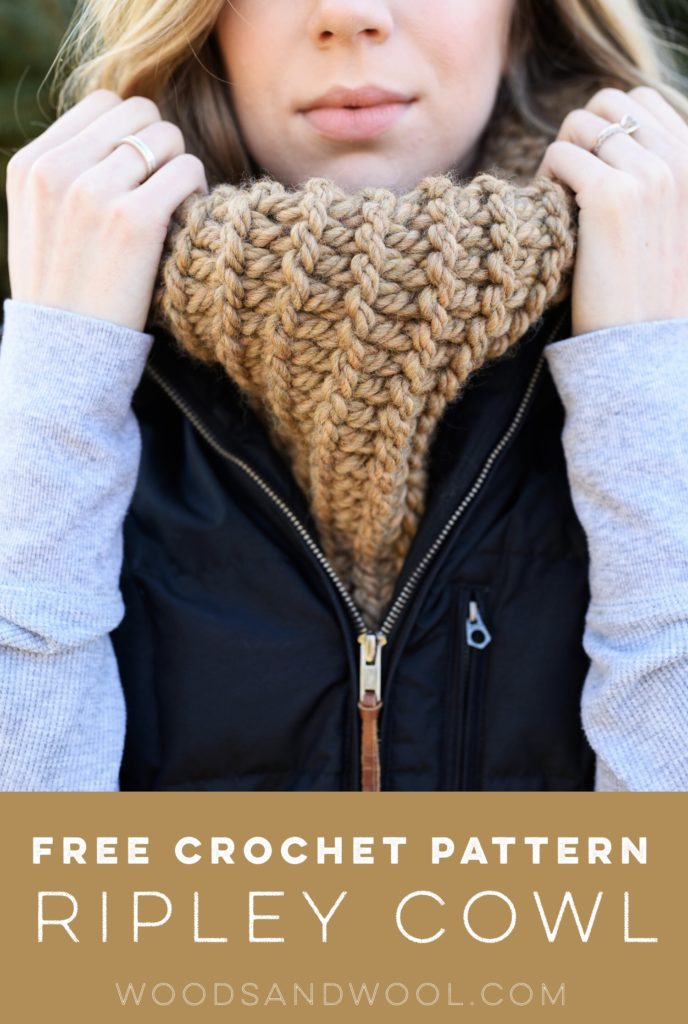
Before you get started, be sure to pin this post for later!
Pin this post!
Materials
- 3 Skeins of Upcycle Reserve Wool Bulky, by WeCrochet / Knit Picks
- 15mm crochet hook – Wood hook / Plastic hook
- Scissors
- Tapestry Needle
This post was sponsored by WeCrochet. Some of the links in this post may be affiliate links, meaning, at no additional cost to you, I will earn a commission if you click through and make a purchase.
The Yarn
Wool Bulky is part of an entire Upcycle Reserve Collection by WeCrochet! The entire collection is made from upcycled yarn, which means they take the leftover yarn from other yarns being produced and turn it into upcycled yarn instead of throwing away the extra fiber. I LOVE when yarn is sustainably produced and it’s one of the reasons I tend to lean toward natural fibers. The whole collection is wonderful, but Wool Bulky is my favorite because it’s so thick and squishy!
The Stitch
It’s hard to believe this stitch is crochet because it looks almost identical to the purl stitch/garter stitch in knitting! I’ve seen it called the “purl slip stitch” because it uses slip stitches to create this purl-esque texture. If you’ve used slip stitch patterns before, you know they’re not as fast as good ole double crochet – but thankfully, with this bulky yarn and giant hook, this pattern still works up pretty fast!
Whether you’re new or old to crochet, be sure to watch the YouTube tutorial so you can get the hang of this stitch. It can be a tiny bit tricky at first, but once you get a few rows in, you’ll be cruising along!
Want the PDF version of this pattern?
If you’d prefer the PDF version of this pattern, grab it on Etsy or Ravelry.
Finished Size
- Circumference: 27” (69 cm)
- Height: 11” (28 cm)
Gauge
4” = 9 rows + 8 sts in pattern
Stitch Abbreviations
- Ch – Chain
- Blo – Back loop only
- Flo – Front loop only
- Sl st – Slip stitch
- St(s) – Stitch(es)
Pattern Notes
- Ch 1 at the beginning of a row does not count as a stitch.
- When the right side of your work is facing you, work stitches in the front loop only.
- When the back side of the work is facing you, work stitches in the back loop only.
Pattern
Ch 22
Row 1: Sl st in 2nd ch from hook and in each st to end of row, turn. – 21 sts
Row 2: Ch 1, sl st blo in next st and in each st to end of row, turn. – 21 sts
Row 3: Ch 1, sl st flo in next st and in each st to end of row, turn. – 21 sts
Rows 4-59: Repeat rows 2 and 3.
Row 60: Repeat row 2.
Cut yarn and leave a 16” tail to use for seaming.
Seaming
Fold your cowl, so the beginning and end of your rows are on top of each other and the right side is facing out. Seam the beginning and end rows together using the mattress stitch, or your seaming method of choice.
Cut yarn and weave in ends.
Show off your work!
If you’ve enjoyed this pattern, be sure to subscribe to our email list for exclusive updates and discounts on future patterns! For more free patterns from Woods and Wool, check out the free patterns category here on the blog. And don’t forget to use the #ripleycowl hashtag on Instagram – I can’t wait to see how your cowl works up!
Copyright
The Ripley Cowl pattern and photographs are property of Woods and Wool and are for personal, non-commercial use only. You may not alter, share, or sell this pattern in any way. However, you are more than welcome to sell the finished product. Please credit Woods and Wool by including a link to the pattern listing if you are selling the finished piece online.
