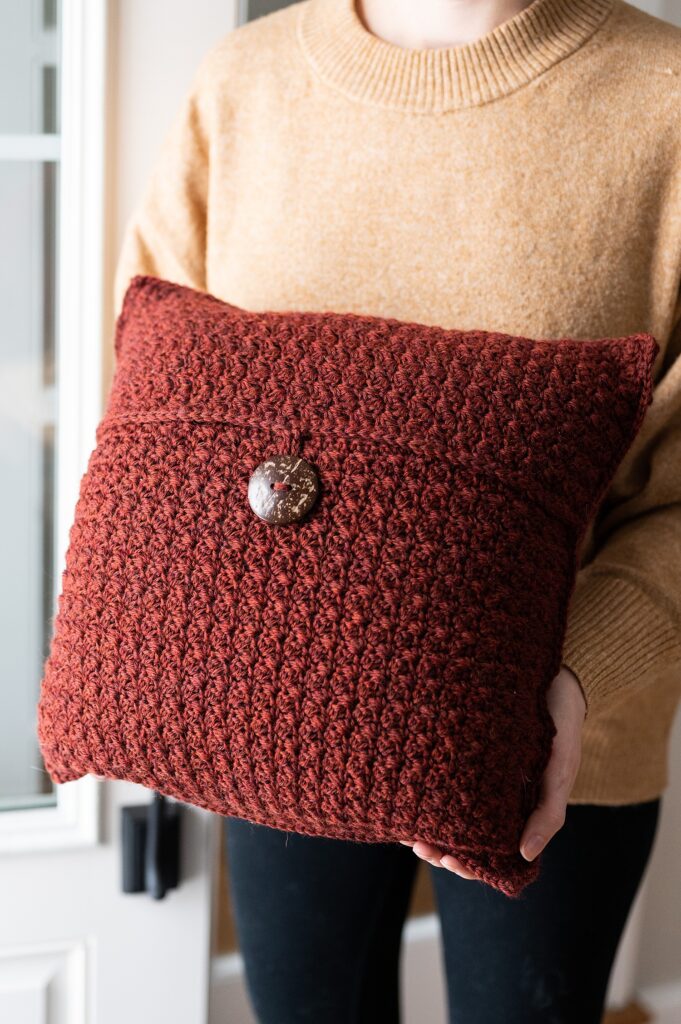
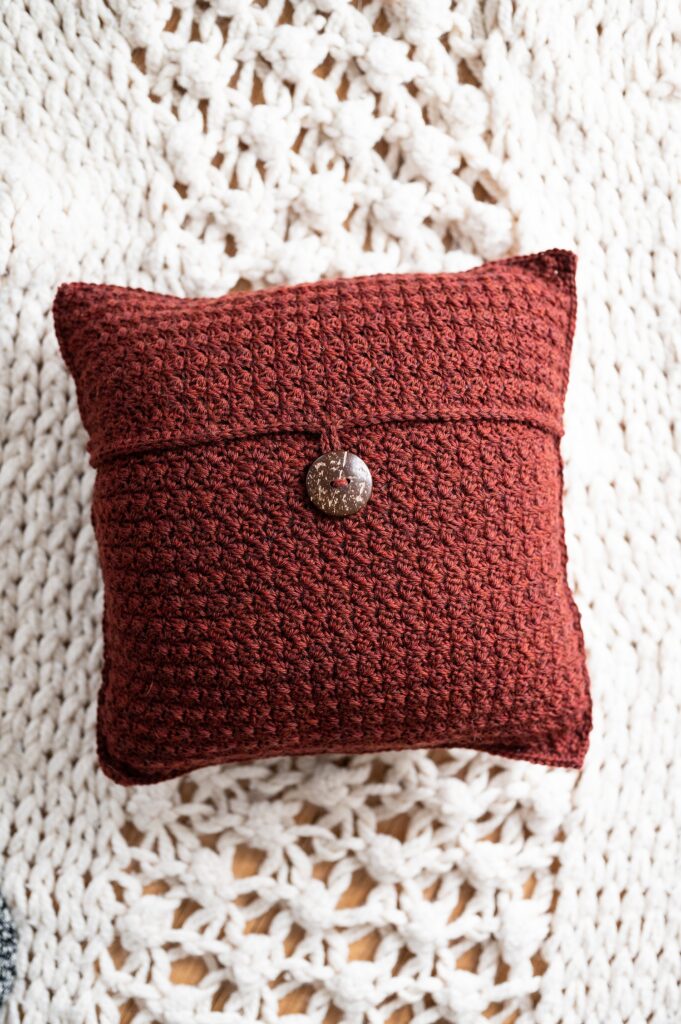
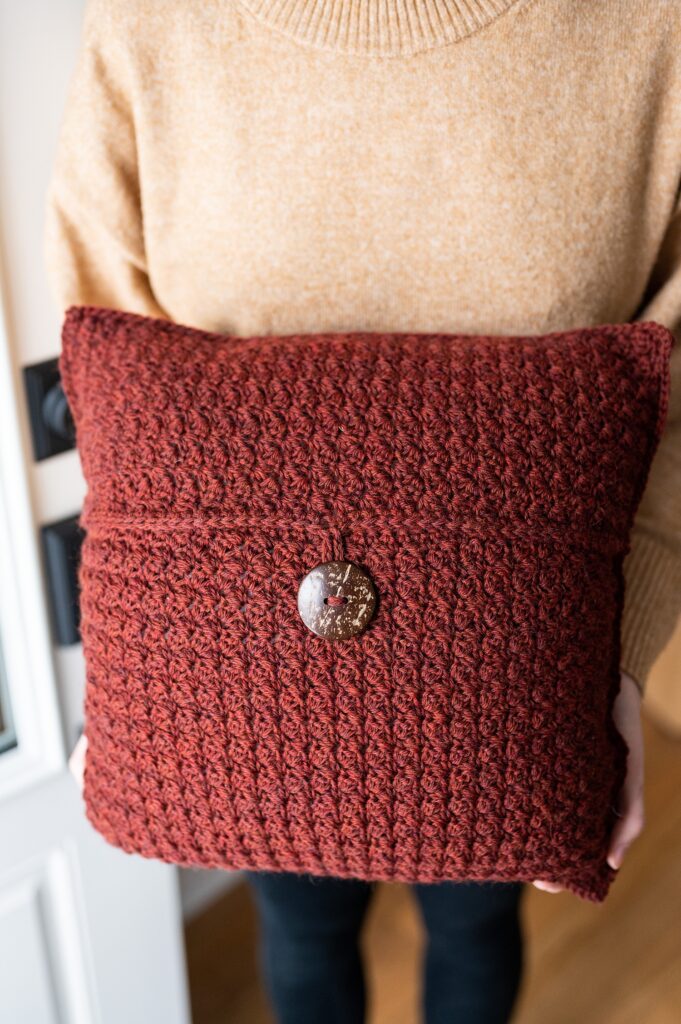
Add a touch of spice to your home with this cozy, handmade pillow cover. This is the first pillow cover I’ve ever designed and it’s such a fun project to make! It’s still simple and mindless, but feels *fancy* to have a beautiful piece to display in your home.
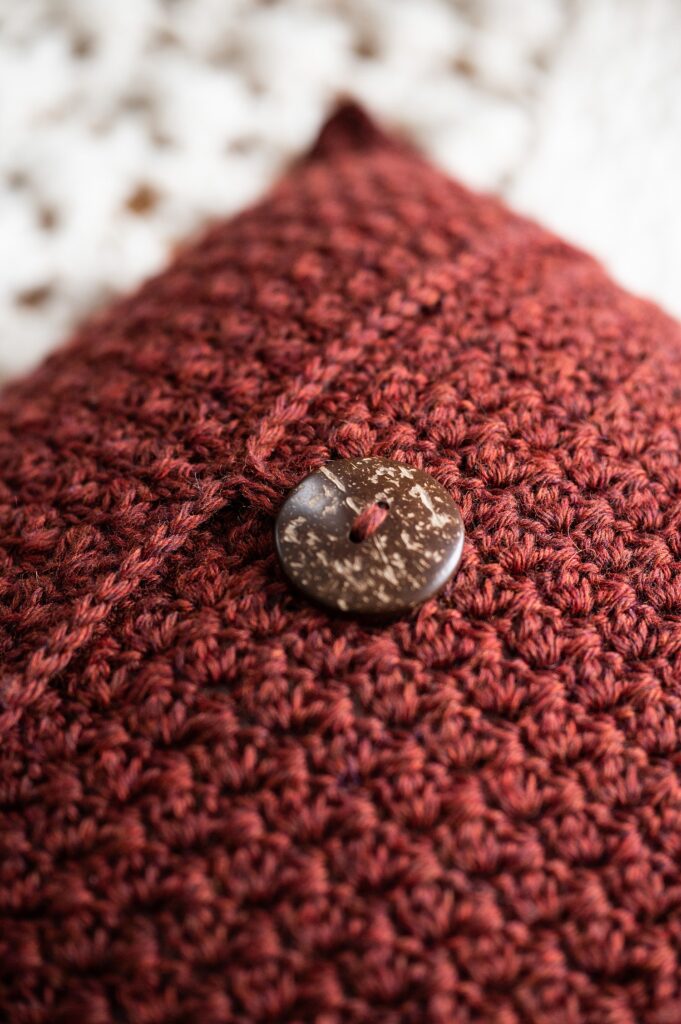
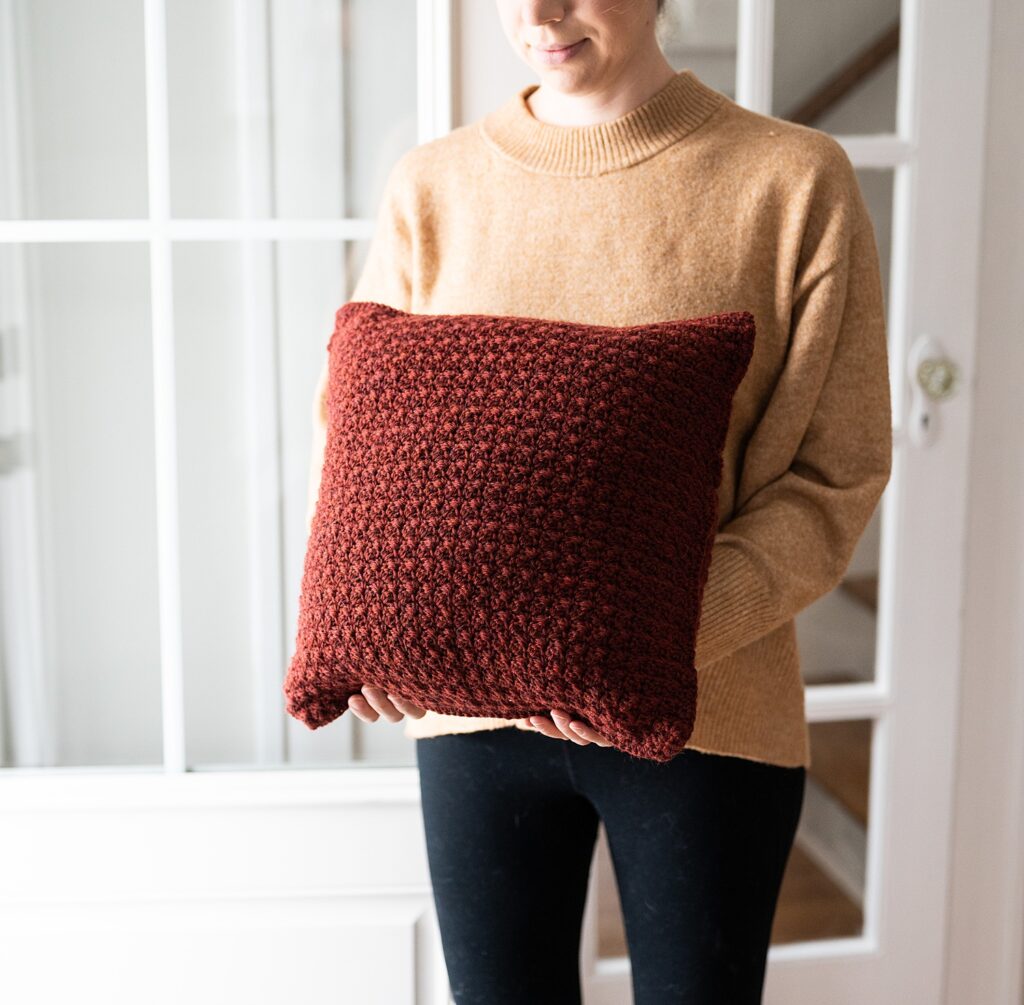
The button makes this a removable pillow cover for easy cleaning and I love how it adds to the design. You can also flip this pillow around for a more plain, understated look that is just as stunning!
This free crochet pattern features a gorgeous texture and is worked in three panels with a simple, yet beautiful seam to tie it all together. Top it off with a button that suits your style and you’ve got the perfect handmade touch to add to your home decor.
Keep scrolling for the free version of this pattern or upgrade to the PDF version, which includes a stitch diagram, notes to modify the size for different pillow form sizes, and an exclusive video to help walk you through the seaming process.
Get the PDF version of this crochet pattern on Etsy or Ravelry!
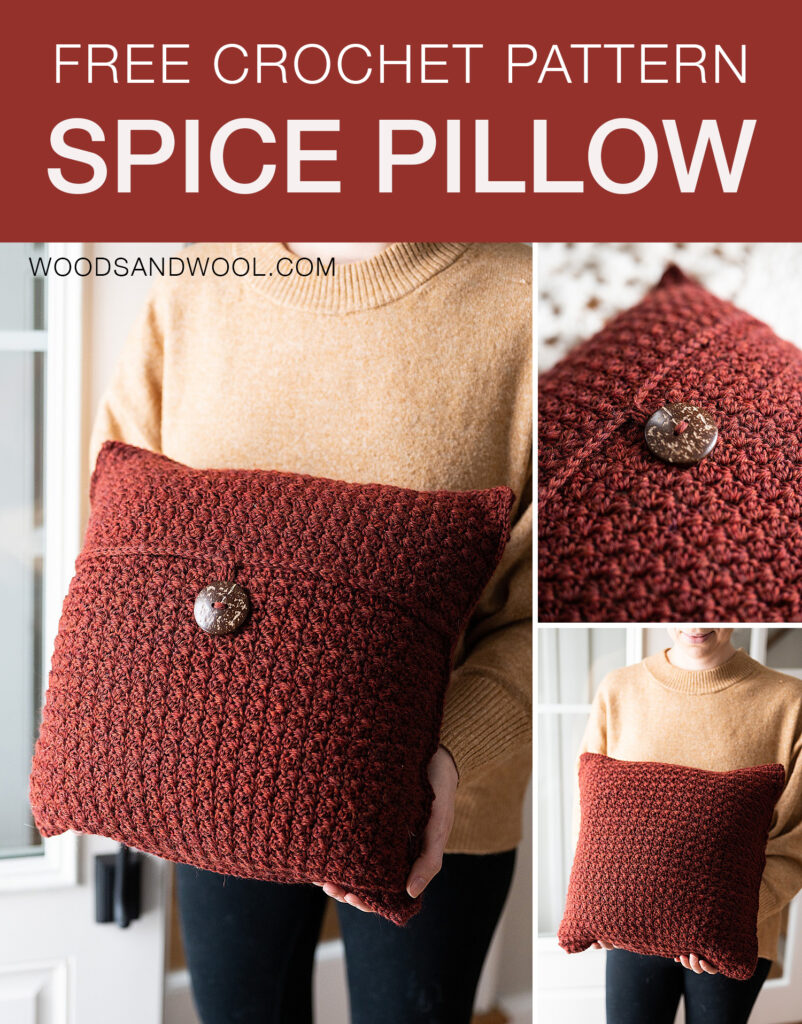
Before you get started, be sure to pin this post for later!
Pin this post!
Materials
- US G+/7 4.5mm Crochet Hook (these are my fav!)
- 5 Skeins of Wool of the Andes Worsted, by Knit Picks/WeCrochet, worsted 4 weight, (100% Peruvian Highland Wool, 110yds/100m, 1.75oz/50g)
- Pictured in the color: Rooibos Heather
- Approximately 520 total yards used
- Large (44mm) button
- 16″ x 16″ pillow form
- Scissors
- Tapestry Needle
This post was sponsored by WeCrochet. Some of the links in this post may be affiliate links, meaning, at no additional cost to you, I will earn a commission if you click through and make a purchase.
Let’s talk about why I chose this yarn…
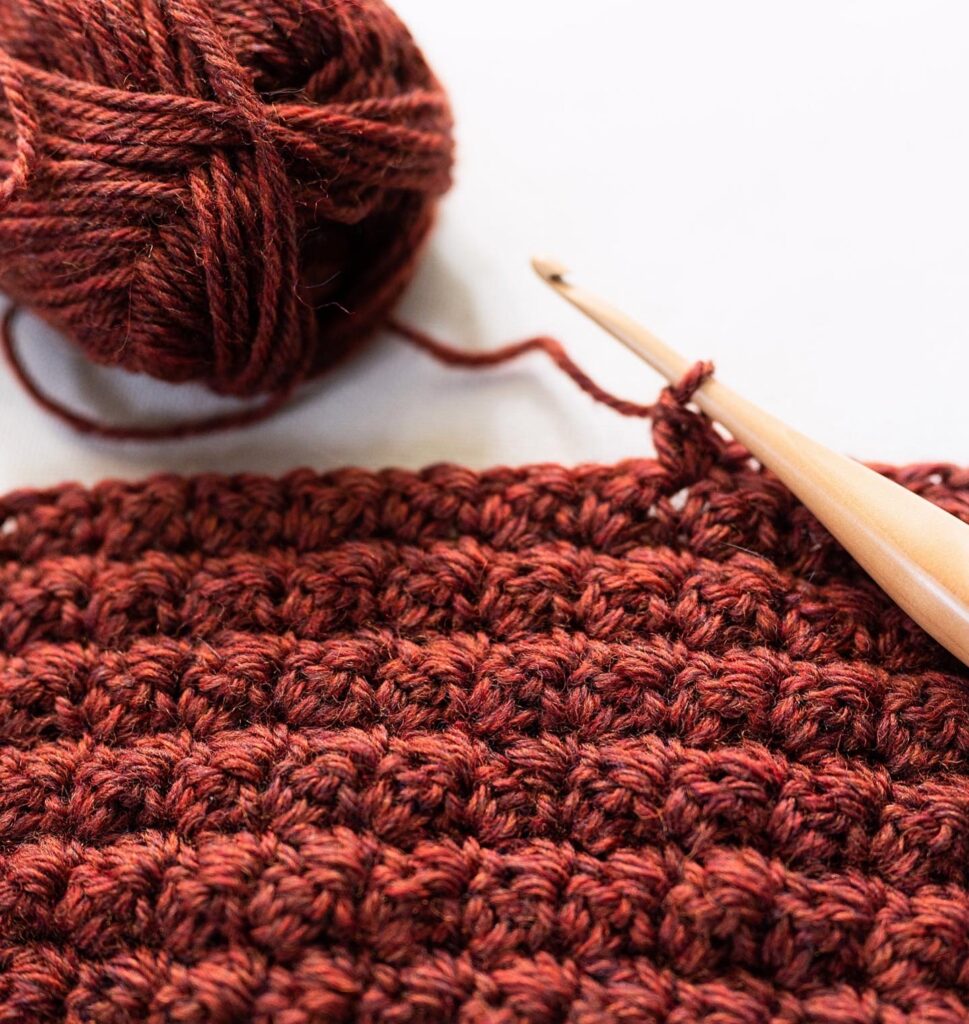
When I first thought of this design, I knew I had to find the right yarn. I’ll admit, one of the reasons I chose this yarn is because of the color! It comes in 90+ colors and this Rooibos Heather colorway is exactly what I had in mind.
Not only that, but I loved the rustic, cozy feel of this yarn for a pillow cover. It gives an amazing stitch definition to this gorgeous crochet texture. I wanted to make sure the yarn complimented the design and this one does just that.
Wool of the Andes comes in a variety of yarn weights and is a great choice for a variety of knit and crochet projects! I personally love it for decor items since it has more of an authentic wool feel. If you’re looking for something with more softness to it, you’ll love Swish yarn!
Want the PDF version of this pattern?
Grab the PDF version of this pattern on Etsy or Ravelry! You’ll find the free version of this pattern below, but the paid PDF version also includes a stitch diagram, notes to modify the size for different pillow form sizes, and an exclusive video to help walk you through the seaming process.
Finished Size
- 15” x 15” (38 x 38 cm)
- Made to fit a 16” x 16” (41 x 41cm) pillow
Gauge
4” = 12 rows + 13 sts in pattern
Stitch Abbreviations
- Ch – Chain
- Dc – Double crochet
- Fsc – Foundation single crochet
- Hdc – Half double crochet
- Sc – Single crochet
- Sk – Skip
- Sl st – Slip stitch
- St(s) – Stitch(es)
Stitch Notes
Foundation Single Crochet (Fsc)
Instead of using chains, this pattern uses the foundation single crochet method to create the first row. This method allows the bottom edge of your pillow to stretch more easily. If you are not comfortable with this method, you may substitute the first row with the same number of chains and a round of single crochet.
Pattern Notes
- Ch 1 at the beginning of a row does not count as a stitch.
- Starting on row 3, skip the first stitch of each row (which is the last double crochet of the previous row).
- Starting on row 3, all stitches will be worked into the sc stitches from the previous row.
- This pillow cover is designed to have a snug fit on the pillow form. Check gauge before beginning this pattern to ensure the cover fits correctly onto the pillow form.
Pattern
Panel A
Row 1: Fsc 53, turn. – 53 sts
Row 2: Ch 1, (sc, dc) in first st, *sk next st, (sc, dc) in next st; repeat from * to end of row, turn. – 54 sts
Row 3: Ch 1, sk first st, (sc, dc) in sc from previous row, *sk next st, (sc, dc) in next sc; repeat from * to end of row, turn. – 54 sts
Rows 4-47: Repeat row 3.
Row 48: Ch 1, sc in each st to end of row.
Do not cut yarn. This yarn will be used as the working yarn for the border at the end.
Panel B
Begin with a new skein of yarn for this panel.
Row 1: Fsc 53, turn. – 53 sts
Row 2: Ch 1, (sc, dc) in first st, *sk next st, (sc, dc) in next st; repeat from * to end of row, turn. – 54 sts
Row 3: Ch 1, sk first st, (sc, dc) in sc from previous row, *sk next st, (sc, dc) in next sc; repeat from * to end of row, turn. – 54 sts
Rows 4-33: Repeat row 3.
Row 34: Ch 1, sc in each st to end of row.
Cut yarn and weave in ends.
Panel C
Row 1: Fsc 53, turn. – 53 sts
Row 2: Ch 1, (sc, dc) in first st, *sk next st, (sc, dc) in next st; repeat from * to end of row, turn. – 54 sts
Row 3: Ch 1, sk first st, (sc, dc) in sc from previous row, *sk next st, (sc, dc) in next sc; repeat from * to end of row, turn. – 54 sts
Rows 4-19: Repeat row 3.
Row 20: Ch 1, sc in each st to end of row, turn.
Row 21 (Trim & Button Loop): Ch 1, sl st in next 27 sts, ch 12, sl st in same st as previous sl st at base of ch 12, then continue working a sl st into each st to the end of row.
Cut yarn and weave in ends.
Finishing
Step 1: Align Panels
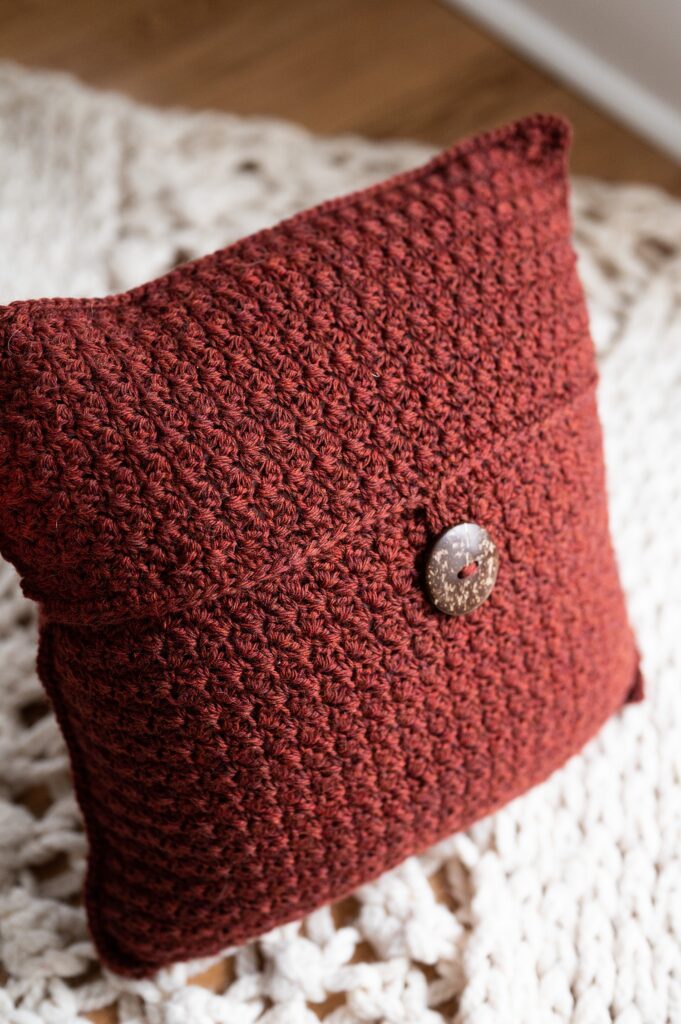
Lay Panel A down flat with Row 1 at the bottom. Place Panel B on top of Panel A with Row 1 on the bottom edge. Place Panel C on top of Panel A with Row 1 at the top edge.
Panel C should be overlapping Panel B.
Row 1 of each panel should be on the outer edge of the pillow.
Step 2: Work Border
Continue with working yarn from Panel A.
Side Edge: Ch 1, hold Panel A & C together and work sc evenly down the side edge of the pillow to seam the panels together. When you reach Panel B, drop Panel C, which will leave a small portion of the panel loose and not seamed down. Continue to work sc through both panels A and B to the corner. Work (sc, hdc, sc) into the corner. (Approximately 60 sc sts worked over 48 rows)
Bottom Edge: Hold the panels together and sc in each sc across, seaming the panels together. Work (sc, hdc, sc) into the corner.
Remaining Edges: Continue up the other side edge and across the top edge. Work through panels A and B to the end of panel B. Skip the same number of row ends on panel C as were left unseamed on the opposite side. Work through panels A and C to the corner. Repeat corner stitches and sc through sc from both panels A and B across the top. Sl st to first sc of border.
Cut yarn and weave in ends.
Step 3: Attach Button
Sew button onto Panel B, approximately 2” from the edge of the panel.
Step 4: Secure Panels (Optional)
If desired, you can sew Panel C down on the side edges of the pillow and along the opening between Panel B & C.
Show off your work!
If you’ve enjoyed this crochet pattern, be sure to subscribe to my email list for exclusive updates and discounts on future patterns! For more free patterns from Woods and Wool, check out the free patterns category here on the blog. And don’t forget to use the #SpicePillow hashtag on Instagram – I can’t wait to see how your pillow works up!
Copyright
The Spice Pillow pattern and photographs are property of Woods and Wool and are for personal, non-commercial use only. You may not alter, share, or sell this pattern in any way. However, you are more than welcome to sell the finished product. Please credit Woods and Wool by including a link to the pattern listing if you are selling the finished piece online.
