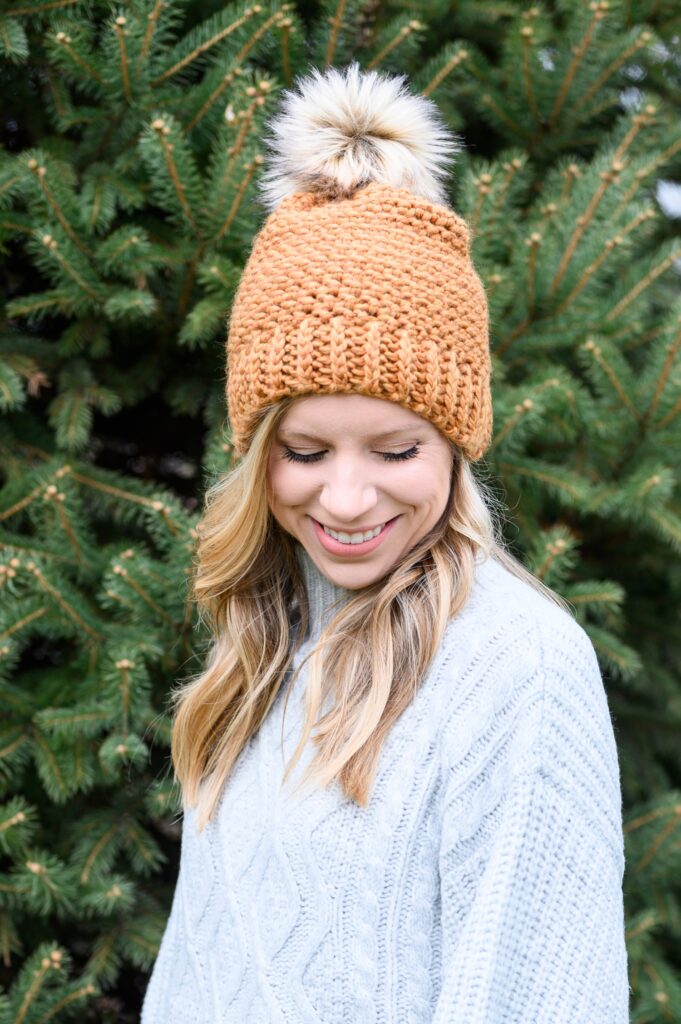
The Better Than Basic Beanie is all about the basics… but better. As a designer, I love how simple stitches can create beautiful, modern textures. This pattern uses the stitches we all know, but with some simple modifications to make you love them even more.
I designed this pattern a few years ago it has taken me wayyy too long to release the pattern. It has been one of my favorites over the years and I have made many as gifts and sold these hats in craft shows and in my Etsy shop. It’s easy to see why people love them so much, and once you make one you’ll see why I love to make them so much. They’re super fun to make and they work up really quick!
Get the PDF version of this pattern on Etsy or Ravelry!
Before you get started, be sure to pin this post for later and save it in your Ravelry favorites!
Pin this Post!
Materials
- 2 Skeins of Biggo, by WeCrochet / Knit Picks (or buy 3 skeins to have enough to make 2 hats!)
- 7mm crochet hook
- Yarn Swift & Ball Winder
- Scissors
- Stitch marker
- Tapestry Needle
- Pom pom maker
This post was sponsored by WeCrochet. Some of the links in this post may be affiliate links, meaning, at no additional cost to you, I will earn a commission if you click through and make a purchase.
The Yarn
I’ve loved Biggo for years and am so happy to FINALLY releasing a pattern with this amazing yarn. It is perfect for hats, because it’s a bulky 5 weight yarn but it’s soft, and has amazing drape so your hats don’t turn out too thick or stiff. There’s two things you should know about Biggo when making this pattern:
- This pattern uses about 1.25 skeins of Biggo. That means you’ll have plenty leftover to use a pom maker and create a fluffy yarn pom to add on top. I like to buy 3 skeins so that I have enough to make 2 hats!
- Biggo comes in a hank! This means you’ll have to wind it into a cake or ball before using it. Since it’s a chunky yarn, it’s pretty easy to wind up by hand but if you want to speed things up, I recommend using a swift and ball winder to make it even easier!
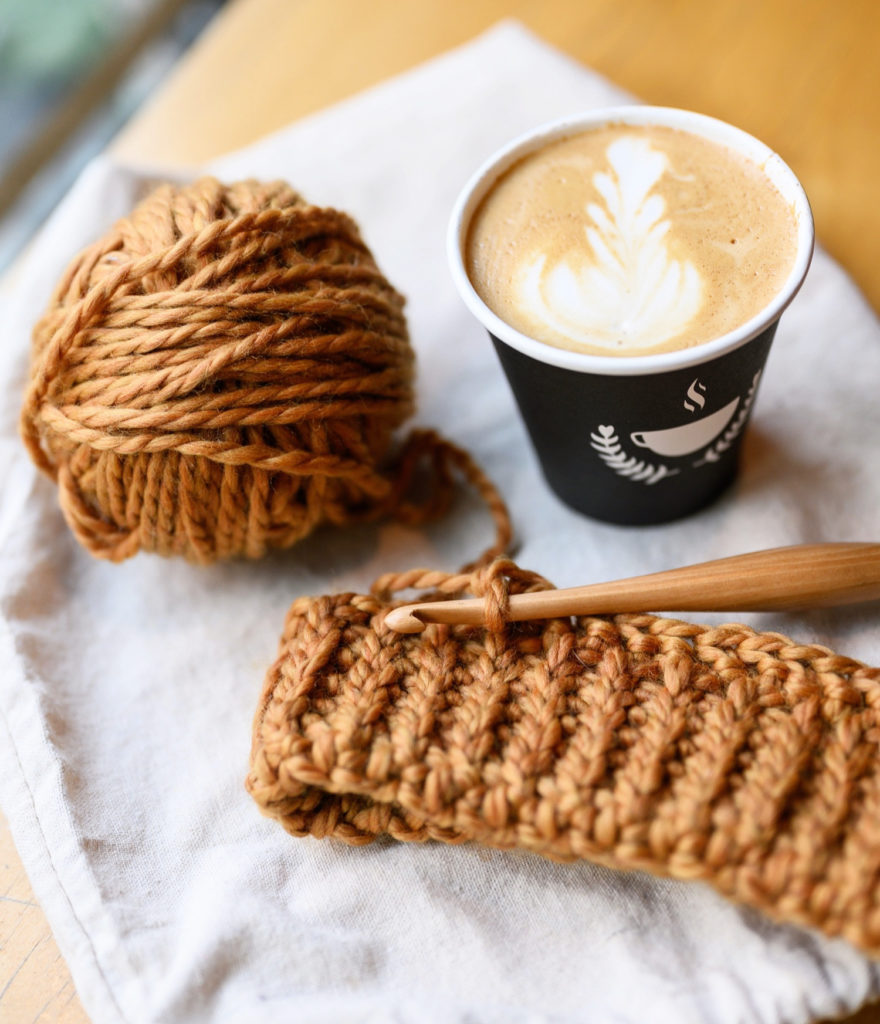
The Ribbing
The ribbing I used in this pattern is my absolute favorite crochet ribbing! It looks just like knit ribbing and creates the perfect brim for this hat. If you’ve never done it before, check out this YouTube tutorial to see just how easy this is!
Get PDF Version of This Pattern!
Before we dive into the pattern, I wanted to let you know you can also get the PDF version on Etsy or Ravelry! The PDF version also includes photos to help you identify the third loop of your stitches, which you’ll be using in this pattern. Grab your copy here!
Finished Size
- Height: 9.5” / 24 cm
- Circumference (unstretched): 19” / 48 cm
- Hat stretches to fit: 21”-22” / 53-56 cm head size
Gauge
4” = 8 rows + 9 sts in pattern
Stitch Abbreviations
- Ch – Chain
- Hhdc – Herringbone half double crochet
- Hhdc2tog – Herringbone half crochet two stitches together
- RibSl – Slip stitch ribbing
- Sk – Skip
- Sl st – Slip stitch
- St(s) – Stitch(es)
- Yo – Yarn over
Stitch Explanation
Herringbone Half Double Crochet (Hhdc)
Herringbone half double crochet is a simple variation of half double crochet that creates a unique texture for this project.
Follow these steps when working in the hhdc stitch:
- Yarn over
- Insert hook into stitch
- Yarn over and pull through the stitch AND the first loop on hook
- Yarn over and draw through remaining loops on hook
Herringbone Half Double Crochet Togther (Hhdc2tog)
To work the hhdc2tog stitch: (Yo, insert hook in next st, yo, draw through st and first loop on hook) twice, yo, pull through all remaining loops on hook.
Slip Stitch Ribbing (RibSl)
To work the RibSl: Yo, sl st into third loop
Check out the video tutorial to see how this stitch worked. The photos in the PDF download will help you identify the third loop to work this stitch in.
This slip stitch ribbing (RibSl) is created by adding a yarn over (yo) before making each slip stitch. This adds an additional back loop, or third loop, to the stitch. After the first row, all ribbing stitches are worked into the third loop of the stitch in the previous row.
Optional: For the last stitch of each row, you can work this stitch under both loops normally (shown as loops 1 and 2 in the photo above), instead of into the extra third loop. This will help the stability and structure of the edge of your rows. Take a look at the photos below to see how to work the last stitch.
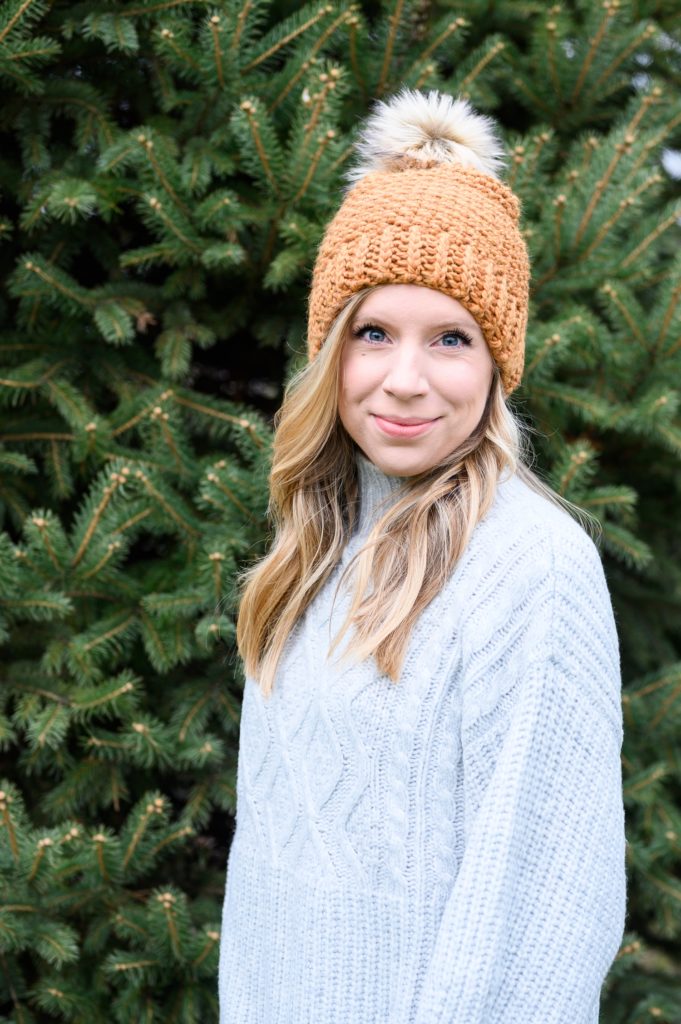
Pattern Notes
- Use a stitch marker to keep track of the beginning/end of each round.
- Chain stitches do not count as a stitch.
- After the ribbing rows are completed, you will join the brim and begin to work on the edge of the rows in continuous rounds for the hat. Do not join or turn after each round unless noted otherwise.
Pattern
Ch 8
Row 1: Yo, sl st in 2nd ch from hook and in each st across, turn. – 7 sts
Row 2: Ch 1, RibSl in each st across, turn. – 7 sts
Note: Be sure to insert your hook into the “third loop” of the stitch in the previous row.
Rows 3-56: Repeat row 2.
Join/Seam: Fold your work so the first row and last row are on top of each other. Sl st row 1 to row 56. In the next round, you will be working along the edge of the ribbed rows to create the body of the hat.
Round 1: Ch 1, *hhdc into each row over the next three rows, sk next row; repeat from * to end of round. – 42 sts
Rounds 2-12: Hhdc in each st until 12 rounds of hhdc are completed. Do not turn after each round. – 42 sts
Round 13: *Hhdc, hhdc2tog; repeat from * to end of round, do not turn. – 28 sts
Round 14: *Hhdc, hhdc2tog; repeat from * to end of round, hhdc in last st, do not turn. – 19 sts
Round 15: Hhdc2tog to end of round, sl st in last st. – 10 sts
Cut yarn, leaving a 6” tail to use to seam the top of the hat.
Seaming
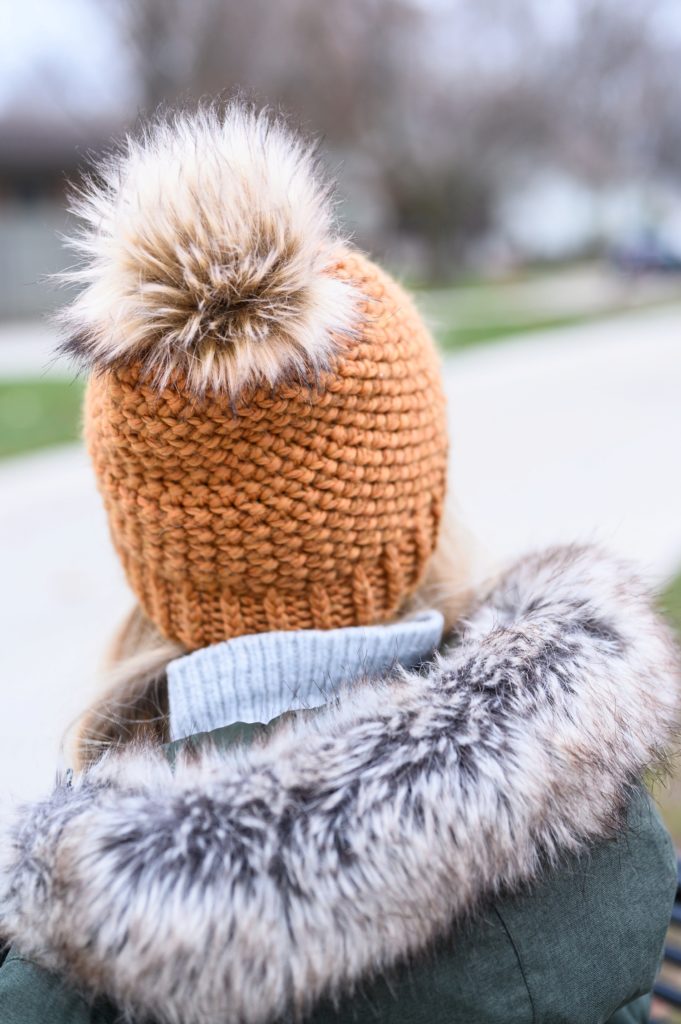
- Use a tapestry needle to weave the yarn left from the last round through the stitches along the top of the hat.
- Hold one end of the yarn and pull the other end until you have closed the top of the hat. (Think of a drawstring bag here!)
- Knot the yarn to secure the top. If you still have a gap, use the yarn and tapestry needle to sew the top closed. Cut yarn and weave in ends.
Show off Your Work!
I hope you’ve enjoyed this free pattern! For more free patterns from Woods and Wool, check out the free patterns category here on the blog. And don’t forget to use the #betterthanbasicbeanie hashtag on Instagram – I can’t wait to see how your beanie works up!
Copyright
The Better Than Basic Beanie pattern and photographs are property of Woods and Wool and are for personal, non-commercial use only. You may not alter, share, or sell this pattern in any way. However, you are more than welcome to sell the finished product. Please credit Woods and Wool by including a link to the pattern listing if you are selling the finished piece online.
My favorite yarn from We Crochet is their Dishie yarn. I love how it works up and it makes great dish towels and cloths.
I adore Dishie! it’s one of my favorite yarns too!
Very cute hat! I’ve been obsessed with crocheting hats lately. To substitute another yarn would you say that the weight is a 4? A 5 is considered bulky. You state chunky yarn. I have Lion Brand Landscapes yarn in “Rain Forest” a beautiful stripe I wanted to try with this pattern. It’s a 4. I’ll try out my gauge. Thanks!
This yarn is definitely a bulky (category 5) yarn. If you want to use a worsted (4) weight, I would try doubling it up and making a swatch to check your gauge!
Love this hat!
Thank you for the pattern and the opportunity to win a gift card.
Cute hat!
What a beautiful hat!! Can not wait to give this one a try! The Biggo yarn from WeCrochet looks amazing! Excited to use it!! I just need to figure out what color!! So many fun options!
Thank you! The colors are even more beautiful in person! Can’t wait to see what color you choose!
Beautiful beanie and with the bulky yarn it will work up quick! I love the faux fur pom and I saw them in Michaels – can’t wait to make this! Thank you so much for sharing the pattern. Merry Christmas! 😊
Thank you! I love the look of a faux fur pom too!
I have never used Alpaca Cloud DK before, but it looks heavenly!!! And the colors are gorgeous!!
I can’t wait to get started on this hat…hats are my favorite thing to make! Thank you for the pattern!