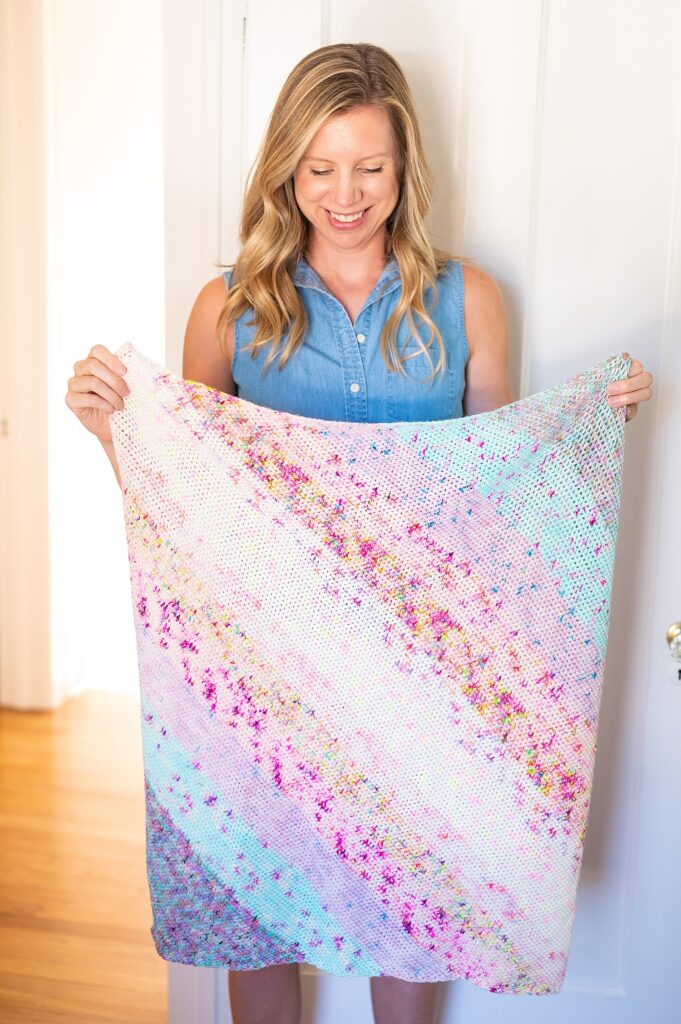
Swim through a sea of color with the Minnow Throw.
The Minnow Throw is truly something special. Toward the end of my maternity leave, I set out to create my *perfect* crochet project. I wanted something that I could easily throw in a bag and take everywhere with me, so any time I had 5 minutes, I could take it out and work on it. This means it had to be lightweight, so I wouldn’t have to haul around a heavy bag of yarn. I also wanted something that i wouldn’t have to think about where I left off and could easily work on without having to be glued to the pattern. And lastly, it had would keep my interest! I chose to use mini skeins, because I love working toward that next section of color and it helps me see my progress along the way.
Most of all, I really wanted to make something for my baby, so that any time I was away from her (especially pumping), I could work on something for her. What started as a project for her, became a project me as well. I loved every stitch of this project. As I went through the first months and year of motherhood, it feels like you’re constantly trying to find yourself again amidst an ocean of new things. Every day there was a new wave. Some are an exciting ride, and some come crashing right over top of you. This project was the perfect creative outlet and safe haven for me as I learned how to swim and enjoy myself out at sea.
And there you have it – the Minnow Throw. Named because I used “minis” but also for my baby, my little minnow, and how I found my way back to crochet swimming through the transforming waves of motherhood and this gorgeous sea of color.
Get the pattern on Etsy or Ravelry & don’t forget to pin this post for later!
Pin this post!
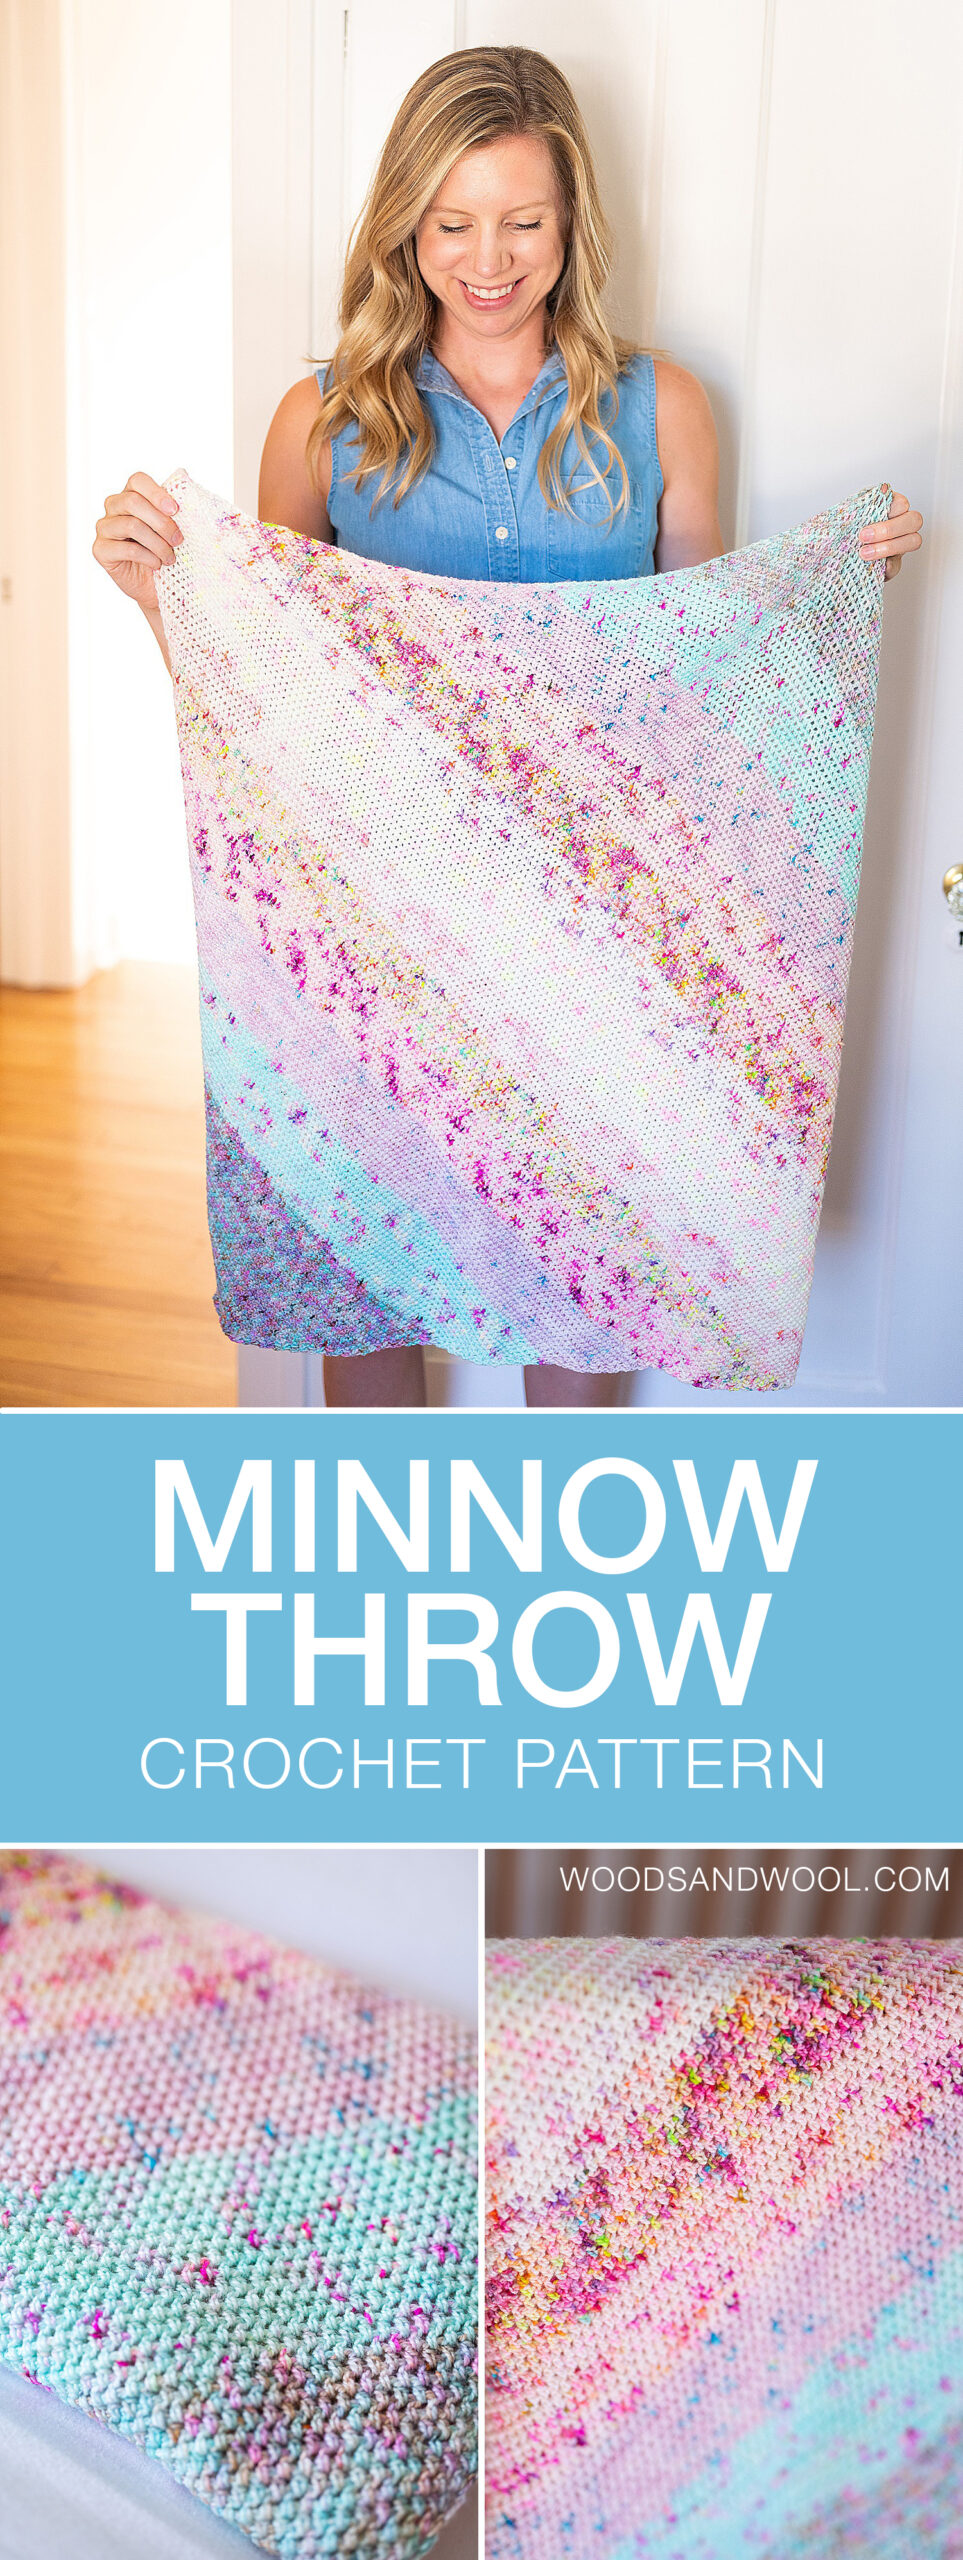
Why I Love This Crochet Pattern
Now that I’ve shared the meaning behind this design, let me tell you a few of the reasons why I love this crochet pattern so much:
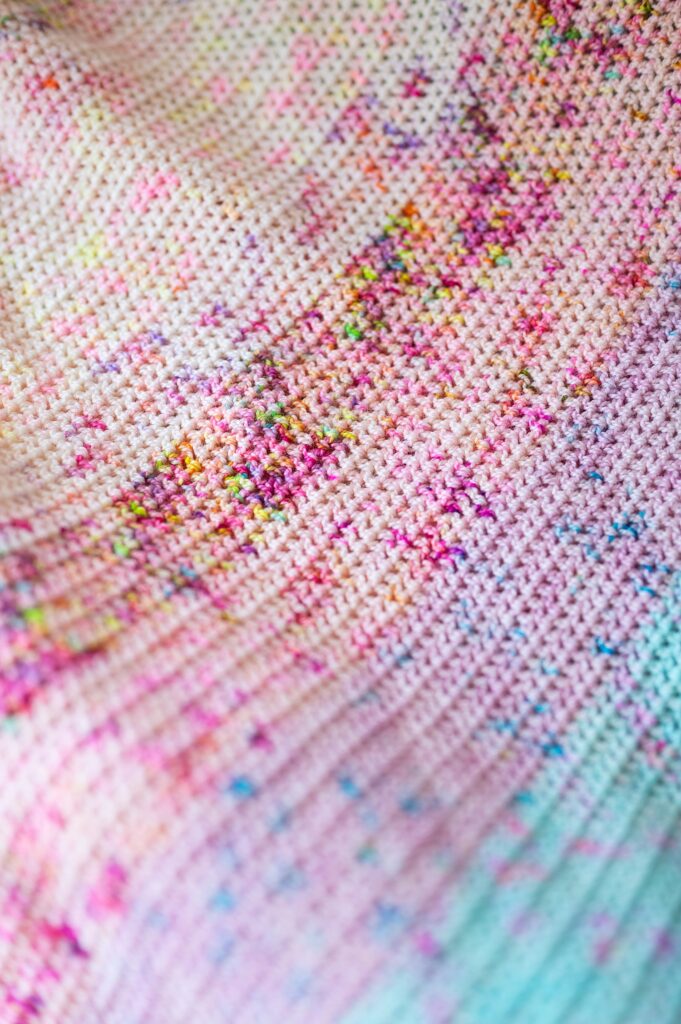
- It has my favorite crochet texture EVER. I came up with this technique years ago and it’s easy to do, and it results in a gorgeous knit-like texture! The pattern includes photos to help you learn how simple it is.
- The stitch diagram. I am a huge fan of visuals to help me see how a pattern really works, and stitch diagrams help me understand the pattern at a glance.
- I love working with mini skeins! It’s so much fun to crochet with mini skeins to create beautiful fades and make something truly unique. You can create a fade, color blocking, or even make this throw blanket in a solid color!
- Flexible enough to make in any size! The pattern includes a handy chart to give you the yardage you’ll need for 5 different blanket sizes (security, stroller, crib, medium throw, or large throw). But why stop there? You can make this throw blanket in ANY size!
- Endless yarn options. You can use any yarn weight and amount of yarn for this pattern.
- This pattern is worked corner-to-corner, which results in a square blanket. Once you get going, it’s almost impossible to put down!
Let’s Talk Yarn
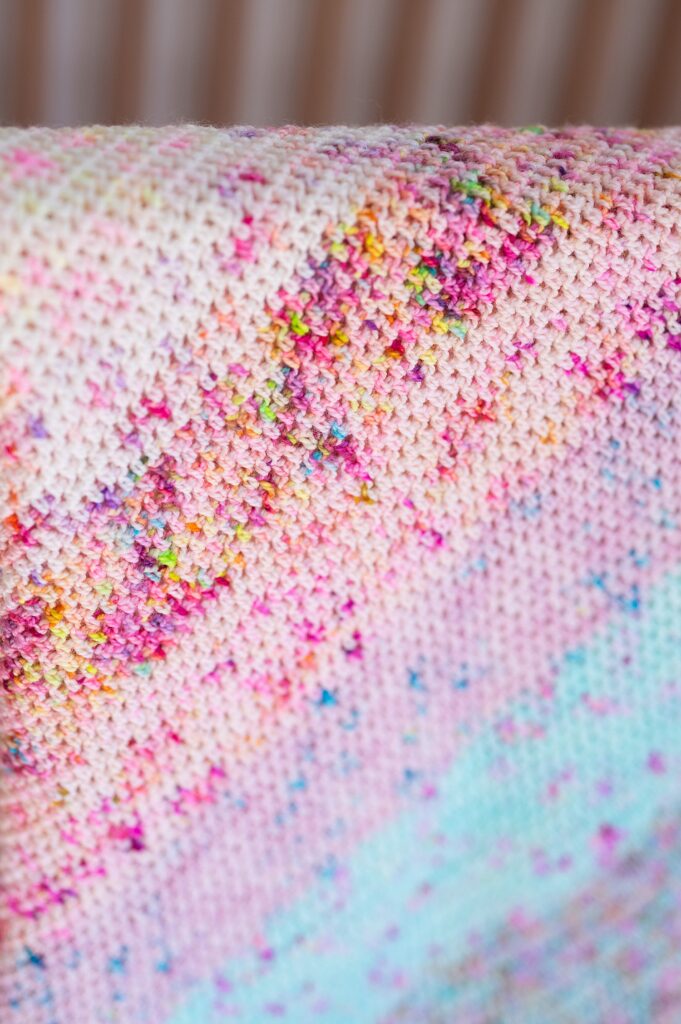
This pattern was designed using fingering (1) weight mini skeins. I used 14 mini skeins, or about 1,300 yards, from Bella Filato Studio’s Spring Fling Collection. Gwen, from Bella Filato Studio, has a great eye for color and I just couldn’t resist these peppy, fun colors! She’s also based in Michigan, so it felt extra special to get yarn from a dyer in Michigan too.
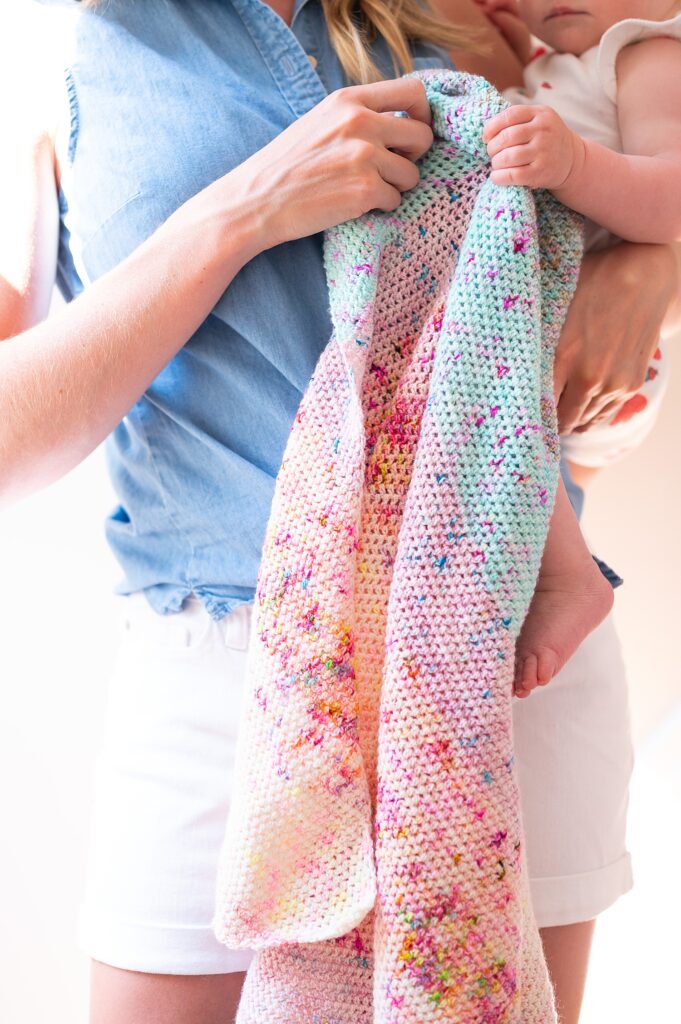
This pattern was designed in a stroller size (29″ x 29″) blanket, but it also includes the approximate yardage you’ll need for 5 different blanket sizes (security, stroller, crib, medium throw, or large throw). You can use the chart in the pattern as a guide for planning out your yardage and what size you can make based on the yarn you want to use!
For More Than Minis
Have I mentioned you can use ANY yarn weight for this pattern? Don’t limit yourself to fingering weight mini skeins, you can use any yarn weight you like and any skein size! It’s perfect for stash busting because you can use any amount of yarn you like and as few or as many colors as you want. Take a peek at your stash and see what combinations you can come up with!
Planning Your Project
The possibilities are endless with the Minnow Throw crochet pattern. This pattern is designed to be used as a recipe, so that it’s flexible whether you’re scooping up mini skein sets or stash busting. Here are a few tips to keep in mind as you plan your yarn so that you make the throw blanket of your dreams:
- Make sure all your yarn is the same weight! While you can use any yarn for this project, you’ll want to make sure all your skeins are about the same yarn weight. For example, you could use all fingering (1) weight or worsted (4) weight, but things might get a little wonky if you try to mix a bulky and lightweight yarn together.
- Map out your colors. I am definitely a planner (and sometimes an overthinker), so I love to map out my colors ahead of time. The Minnow Throw lends itself to a beautiful faded project, so try laying out your colors to get the look you’d like!
- Weigh your yarn. Because this blanket is so versatile, you can make it using any yarn weight in almost any size! Before you begin, weigh your yarn (a basic kitchen scale works great for this!) and see how many grams you have. Make a note and check in as you’re working your project so you can begin the decrease section when you are halfway through your yarn.
As you plan your project, remember this crochet pattern is all about getting creative! The Minnow Throw is a chance for you to sit back and enjoy the journey of creating a masterpiece all your own.
Ready to Make Your Own?
Get the Minnow Throw crochet pattern on Etsy or Ravelry! For more patterns from Woods and Wool, check out the patterns category here on the blog. And don’t forget to use the #MinnowThrow hashtag on Instagram – I can’t wait to see your projects!
You Might Also Like…
If you’re looking for more patterns that use mini skeins, check out my Venture Shawl Crochet Pattern!
