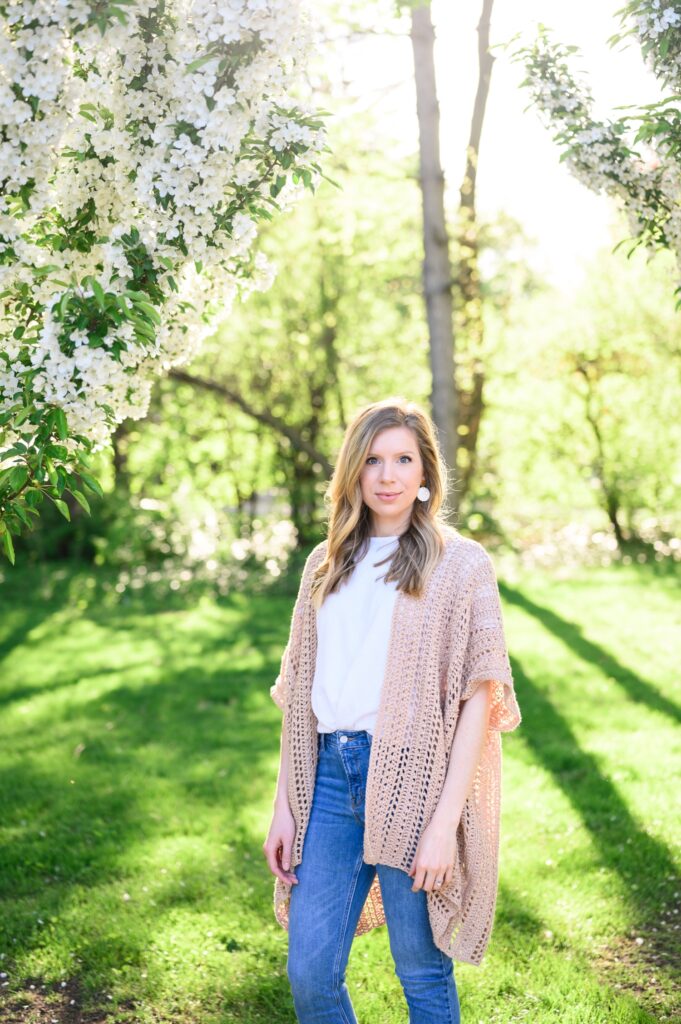
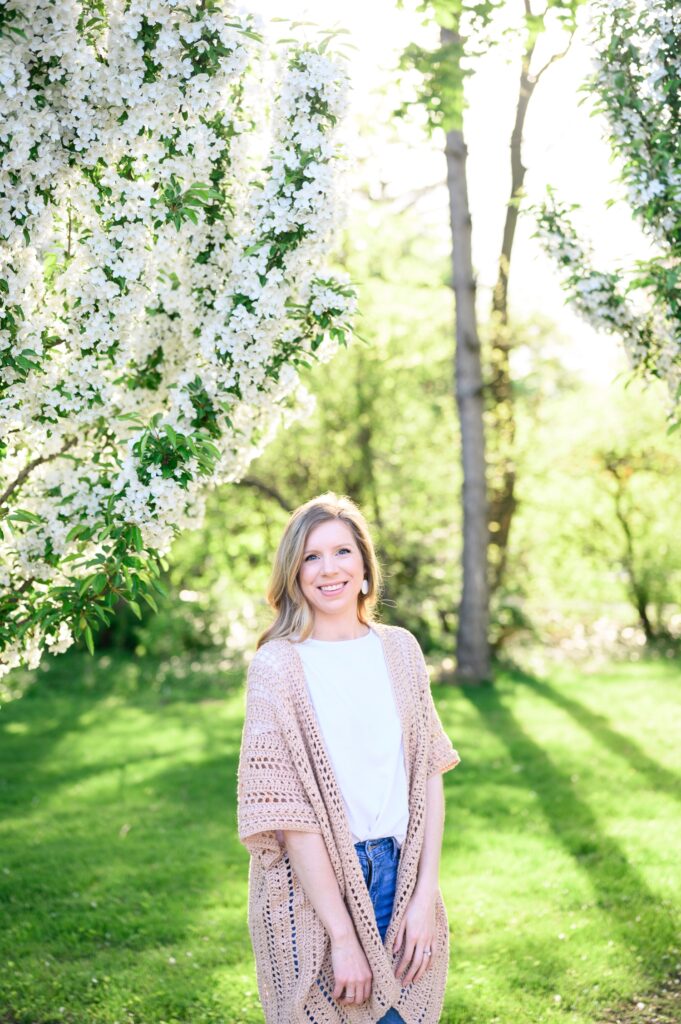
As soon as I saw this yarn, I knew I had to design something with it for summer. I wanted something lightweight, breezy, and versatile to wear. I knew a poncho would be the perfect carefree pattern to make and wear!
I had visions of wearing this on the lakeside, sitting on a beach, or strolling through a park. Then I realized that no matter what your dream summer day is, this poncho is perfect for it.
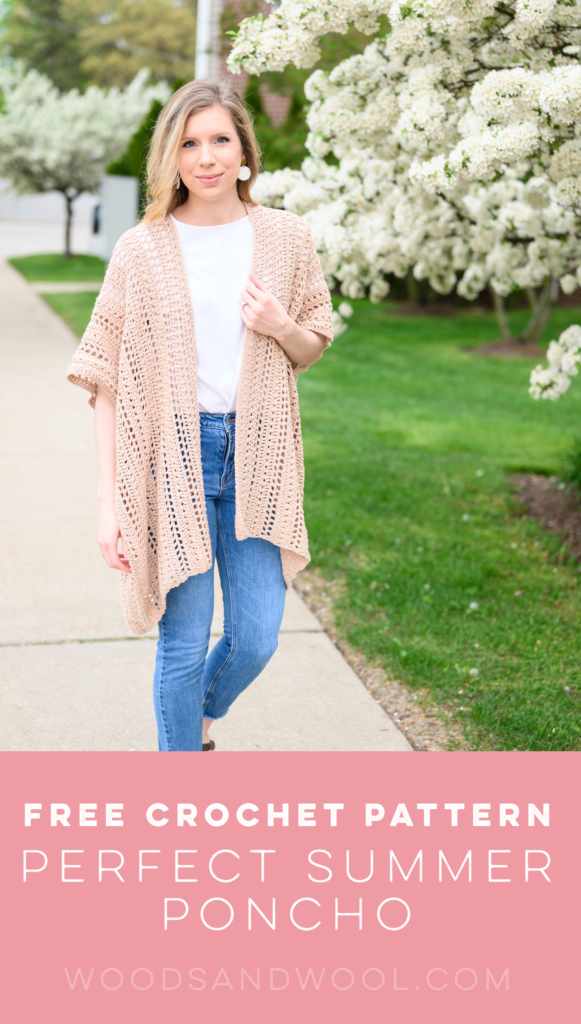
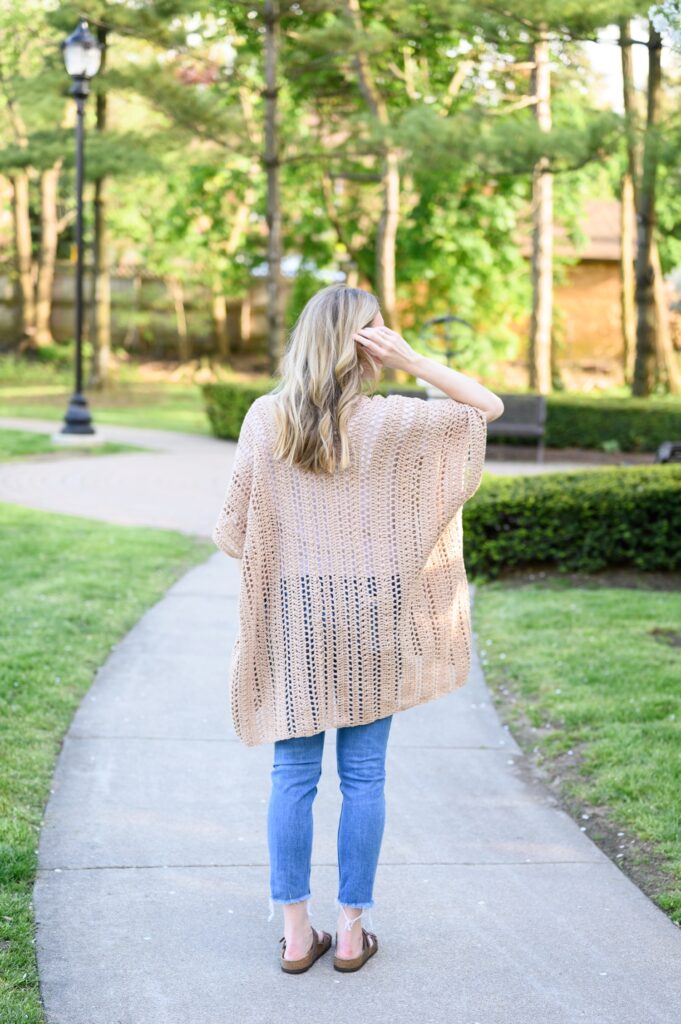
The Perfect Summer Poncho is equal parts easy and interesting. With simple stitches and mindless repeats, this pattern is super fun and fast to work up! It’s crocheted in two rectangles, with a few quick and easy seams, and that’s it! It’s a great beginner project for your first garment.
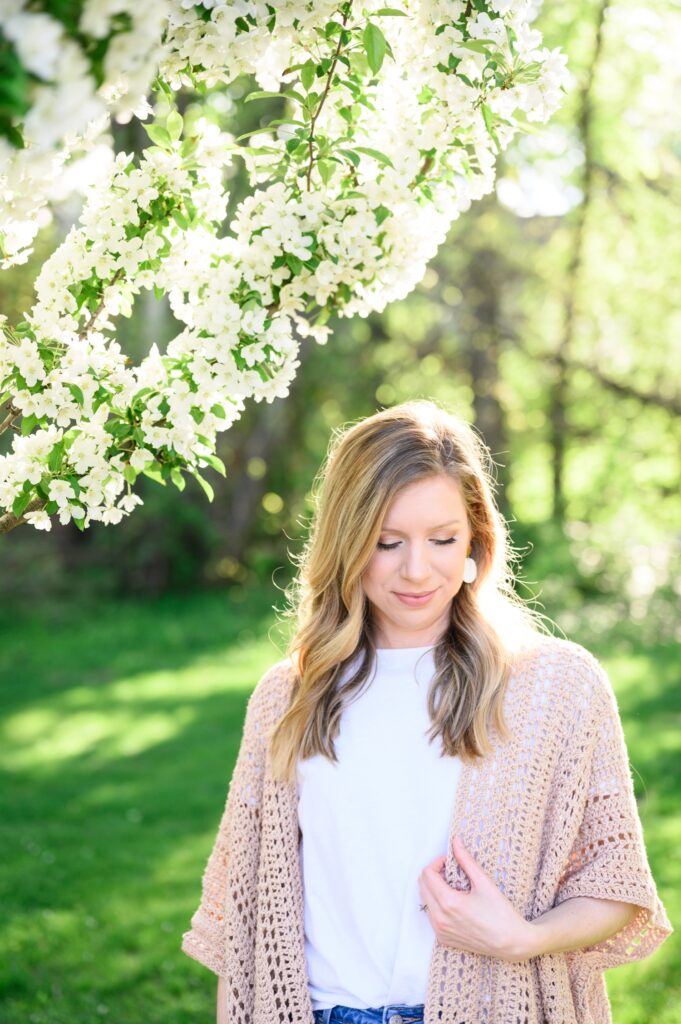
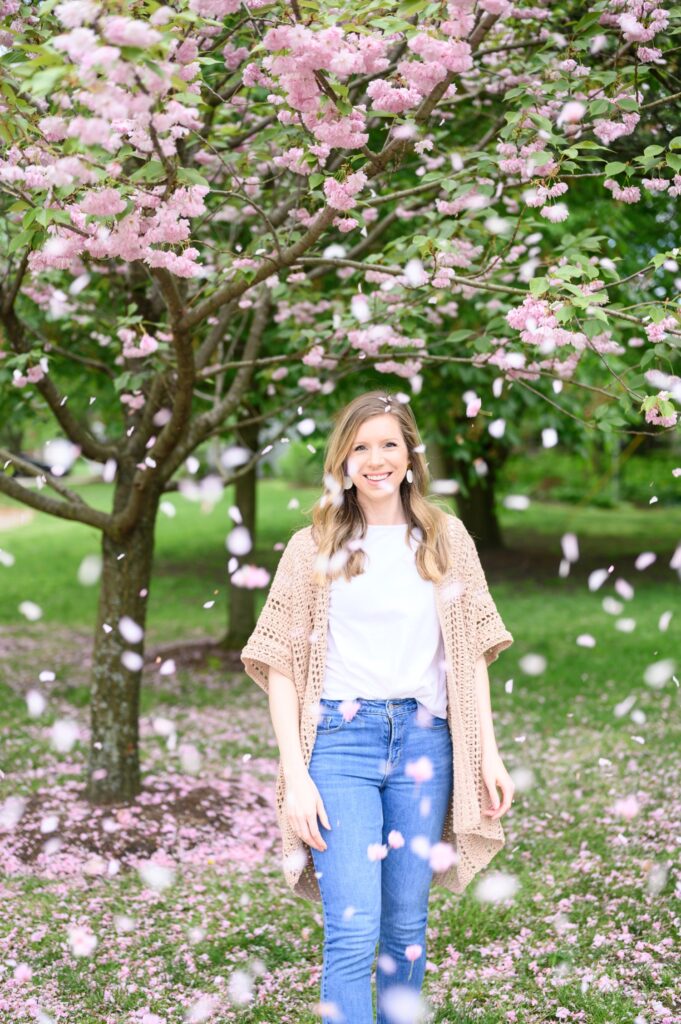
With gorgeous drape and modern texture, this piece is easy to dress up or down. It’s perfect for warm summer days and cool evenings, and you better believe I’ll still be wearing this during the fall!
Get the PDF version of this pattern on Etsy or Ravelry!
Before you get started, be sure to pin this post for later!
Pin this post!
Materials
- US G+/7 4.5mm Crochet Hook (these are my fav!)
- CotLin, by Knit Picks/WeCrochet, DK 3 weight, (70% tanguis cotton, 30% linen, 142 yds/130 m, 1.8oz/50g)
- Scissors
- Tapestry Needle
- Stitch Marker
This post was sponsored by WeCrochet. Some of the links in this post may be affiliate links, meaning, at no additional cost to you, I will earn a commission if you click through and make a purchase.
The Yarn
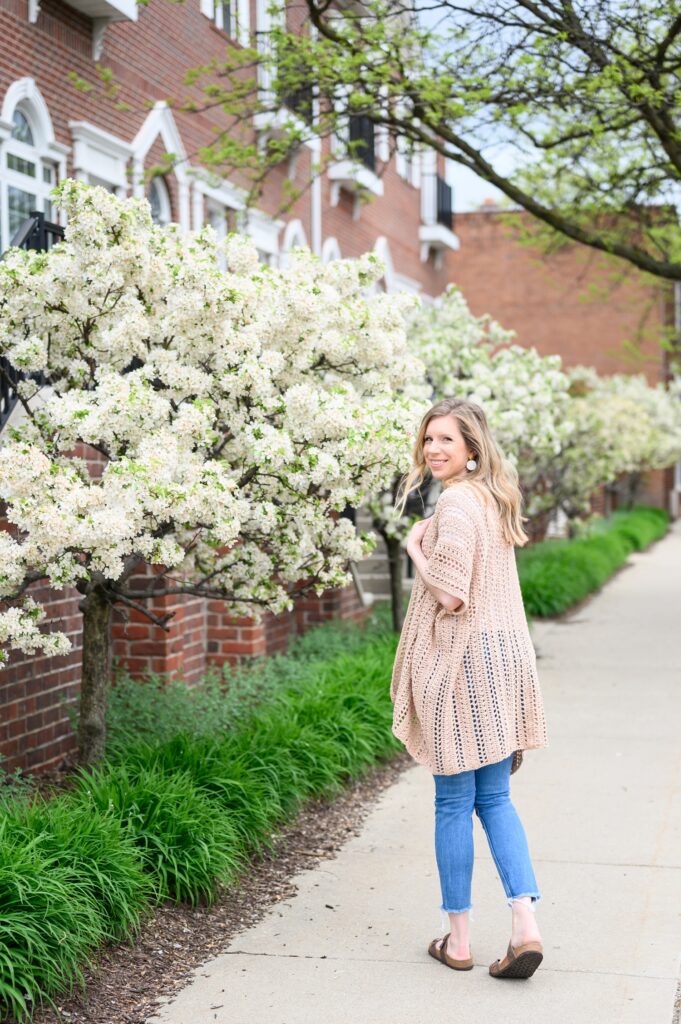
This was my first time using CotLin and it quickly became one of my top 5 favorite yarns for summer EVER. The DK weight is perfect for this project because it works up quickly, but is still a nice light weight for summer. The cotton-linen blend yarn is super breathable, which makes it ideal for the warmer summer months.
Even More Yarn Options
If you’re looking for even more yarn options for this pattern, check out this lightweight alpaca yarn and this super soft merino wool yarn! These two yarns are both great options for this pattern and they are the exact same weight and yardage, so no need to do any math to calculate how much you’ll need! These natural fibers will drape beautifully and add a little extra coziness to your project so you can keep wearing it as the weather cools down in the fall.
Want the PDF version of this pattern?
Grab the PDF version of this pattern on Etsy or Ravelry! The pattern PDF also includes notes to adjust the length of your poncho, a stitch diagram, and seaming schematic – which are super helpful if you’re a visual learner!
Finished Size
| Size | Width | Length |
| XS/S | 32“ / 81 cm | 30” / 76 cm |
| M/L | 37” / 94 cm | 30” / 76 cm |
| XL/2XL | 42” / 107 cm | 30” / 76 cm |
| 3XL/4XL | 47” / 120 cm | 30” / 76 cm |
*Pictured in size XS/S on 5’8″ model with 34”/86cm bust.
Gauge
4” = 8 rows + 14 sts in Double Crochet (dc)
Stitch Abbreviations
- Ch – Chain
- Dc – Double crochet
- Fsc – Foundation single crochet
- RS – Right side
- Sk – Skip
- Sp – Space
- St(s) – Stitch(es)
Pattern Notes
- Pattern is written in size XS/S, with stitch counts for the other sizes listed in parentheses as follows: XS/S (M/L, XL/2XL, 3XL/4XL)
- Ch 1 at the beginning of a row does not count as a stitch.
- Ch 1 within a row counts as a stitch.
- Pattern is worked lengthwise, from side to side.
Pattern
Row 1: Fsc 210, turn. – 210 sts
Row 2 (RS): Ch 1, dc in first st and in each st across, turn.
Row 3: Ch 1, dc in first st, *ch 1, sk next st, dc in next st; repeat from * to end of row, dc in last st, turn.
Row 4: Ch 1, dc in first st, *dc in next dc, dc in ch-1 sp; repeat from * to end of row, dc in last st, turn.
Row 5: Ch 1, dc in first st, *sk next st, dc, dc into skipped st (working over the previous dc in skipped st); repeat from * to end of row, dc in last st, turn.
Row 6: Ch 1, dc in first st and in each st across, turn.
Row 7: Ch 1, dc in first st, *ch 1, sk next st, dc in next st; repeat from * to end of row, dc in last st, turn.
Row 8: Ch 1, dc in first st, *ch 1, sk next st, dc in ch-1 sp; repeat from * to end of row, dc in last st, turn.
Rows 9-28 (33, 38, 43): Repeat rows 4-8 four (five, six, seven) times.
Next Two Rows: Repeat rows 4-5 one time.
Next Four Rows: Repeat rows 3-4 two times.
Final row count should be 34 (39, 44, 49).
Seaming
- There are many methods used to seam, such as using slip stitches, a whip stitch, or the mattress stitch. The mattress stitch is recommended for a smooth, seamless look.
- Row 1 (fsc row) of each panel will be the outside edge, on the armhole side of the poncho.
Step 1: Lay both panels down flat with the RS facing you. Align the last row of each panel next to each other with and row 1 (fsc row) on the outside.
Step 2: Before seaming up the center, place a stitch marker at the center stitch, which is 105 stitches from the edge of the panel.
Step 3: Beginning at the bottom, seam up the center until you reach the stitch marker. Seam the side of the front panel to the back panel.
Step 4: Fold your poncho length wise and align the panels evenly. Place a stitch marker 10” from the top of each shoulder to mark the armhole. You will leave about 64 stitches unseamed for each armhole, but feel free to adjust the armhole size as you like.
Step 5: Seam from the bottom of the poncho up to the stitch marker at each armhole.
Cut yarn and weave in ends.
Show off your work!
If you’ve enjoyed this pattern, be sure to subscribe to my email list for exclusive updates and discounts on future patterns! For more free patterns from Woods and Wool, check out the free patterns category here on the blog. And don’t forget to use the #perfectsummerponcho hashtag on Instagram – I can’t wait to see how your poncho works up!
Copyright
The Perfect Summer Poncho pattern and photographs are property of Woods and Wool and are for personal, non-commercial use only. You may not alter, share, or sell this pattern in any way. However, you are more than welcome to sell the finished product. Please credit Woods and Wool by including a link to the pattern listing if you are selling the finished piece online.
I’m excited to make this! I have a bunch of lighter weight yarn that I think would be perfect for this! Thanks for sharing your pattern and passion!