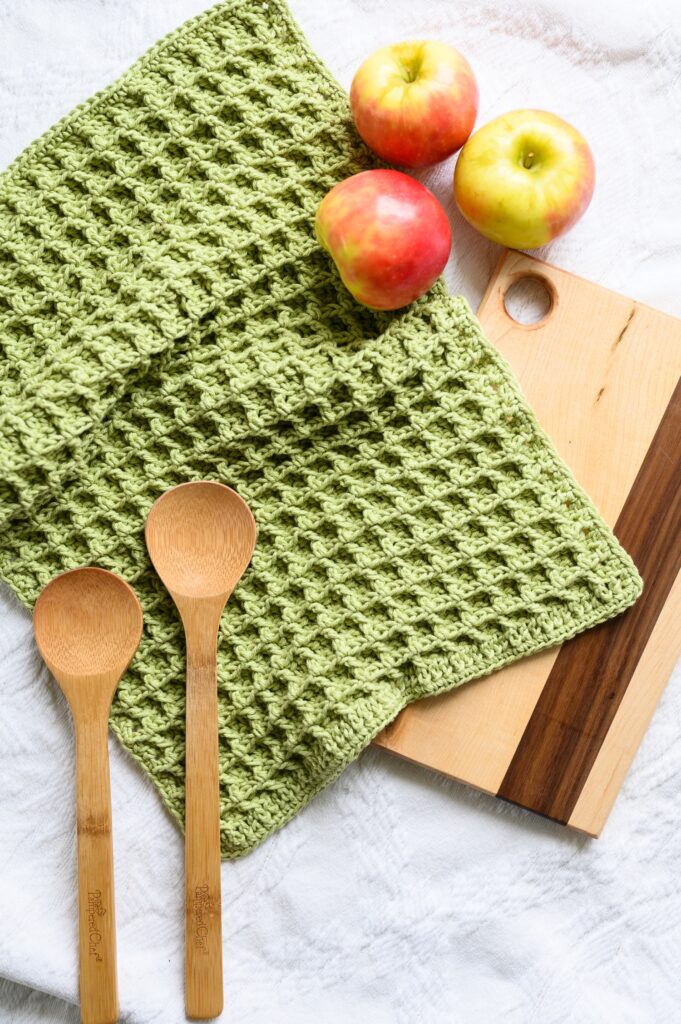
Ever since I learned how to crochet, I’ve loved making items that are quick, easy, and useful. It all started with dishcloths, which is where My Favorite Dishcloth pattern came from. But now, it’s time to add a kitchen towel to the collection!
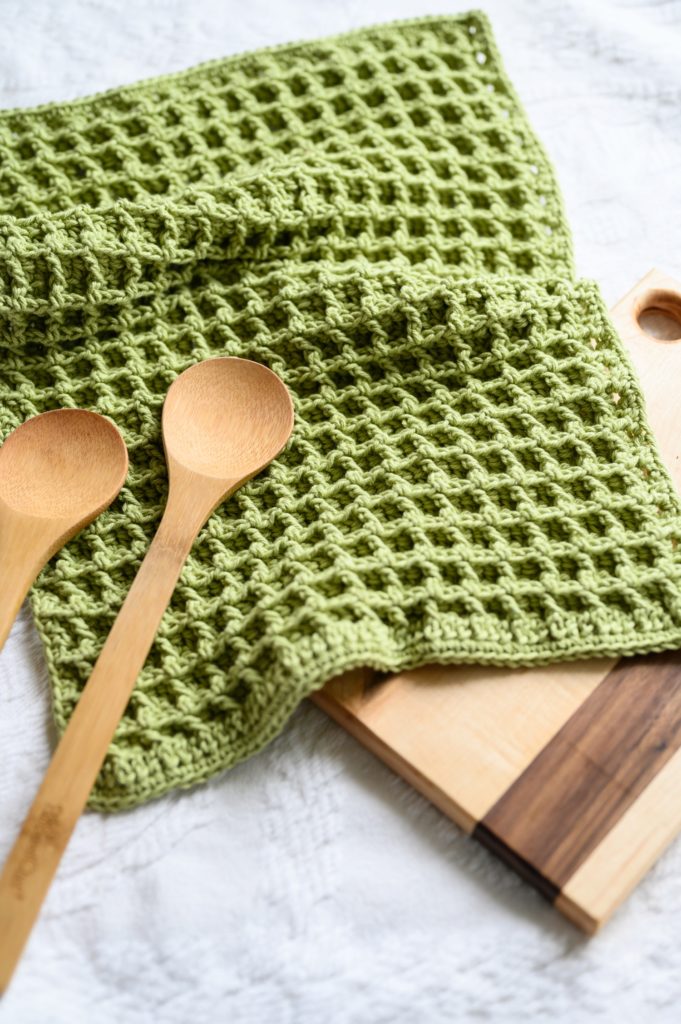
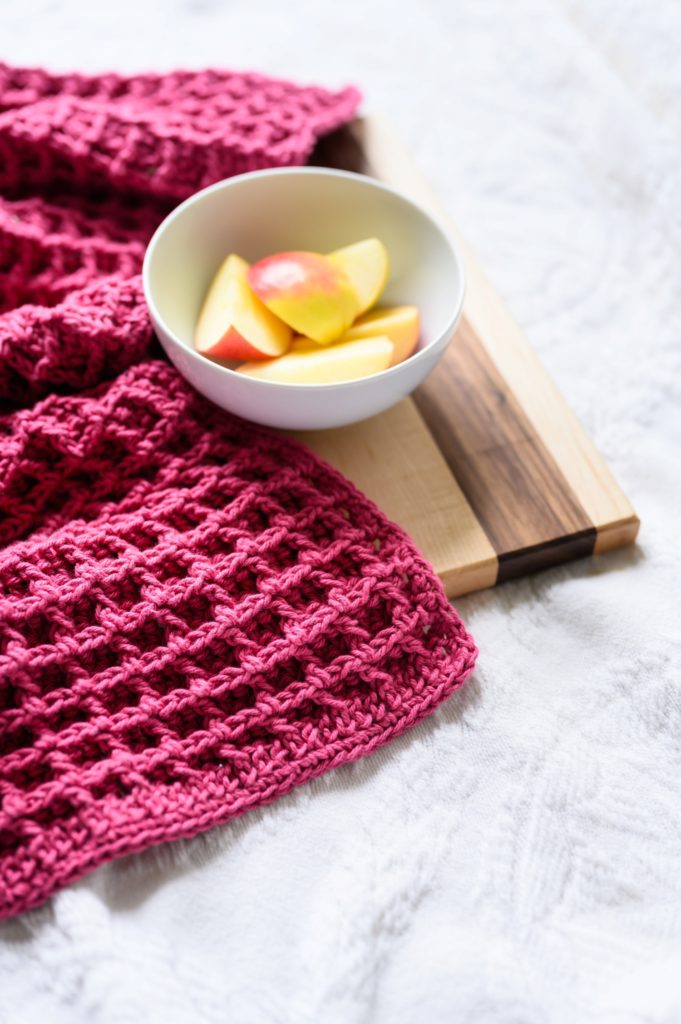
The Dishie Towel has quickly become my new favorite kitchen towel. When I asked on Instagram, I found that we all have different preferences when it comes to kitchen towels. Whether you call it a dish towel, kitchen towel, hand towel, tea towel – the Dishie Towel will be your new fav. It’s perfect to dry off your dishes or your hands after washing them, but it’s also the perfect thickness and size to use as a hot pad or potholder.
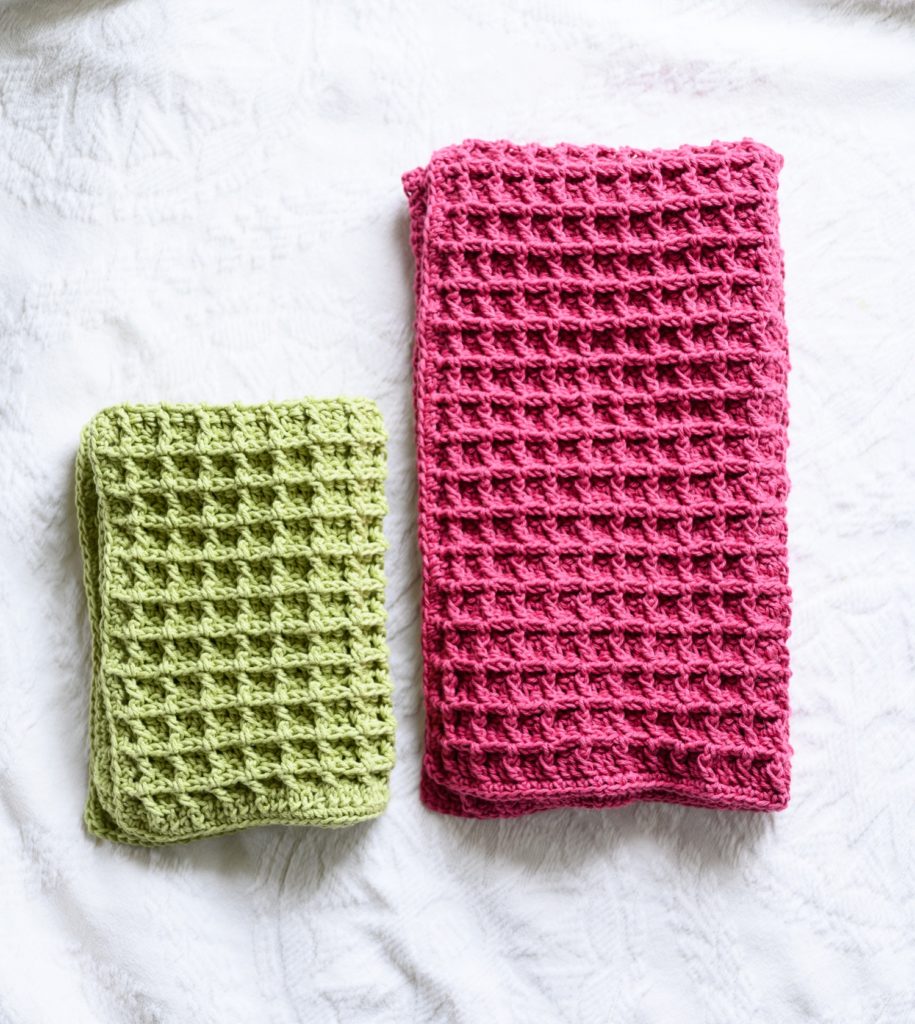
I decided to make two different sizes of this pattern – a standard size and a smaller size. Follow the pattern below to make the standard size, or grab the PDF version of the pattern for both sizes!
It’s a quick project for beginners and would make a great gift for friends and family! Make a set of My Favorite Dishcloths to go with it and you’ve got a perfect housewarming present!
Get the PDF version of this pattern on Etsy or Ravelry!
Before you get started, be sure to pin this post for later!
Pin this post!
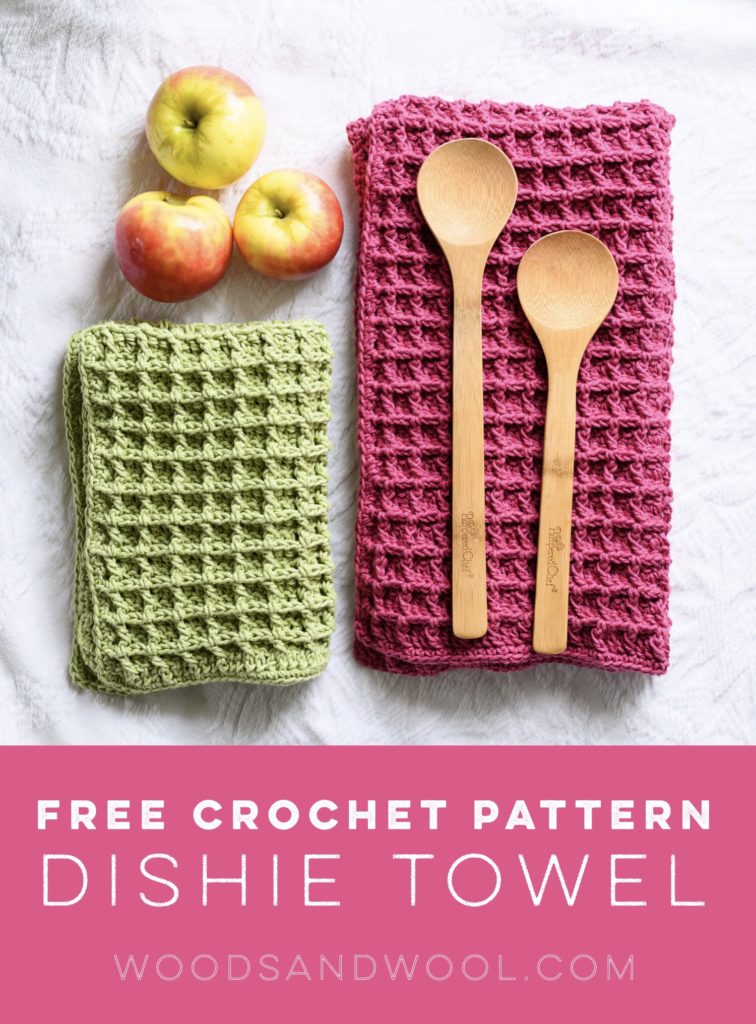
Materials
- US G+/7 4.5mm Crochet Hook (these are my fav!)
- Dishie, by Knit Picks/WeCrochet, worsted 4 weight, (100% cotton, 190 yds/174 m, 3.5oz/100g)
- Scissors
- Tapestry Needle
This post was sponsored by WeCrochet. Some of the links in this post may be affiliate links, meaning, at no additional cost to you, I will earn a commission if you click through and make a purchase.
The Yarn
If you’ve seen My Favorite Dishcloth pattern, you know how much I love this yarn! It’s affordable and looks beautiful after years of daily use, which makes it the perfect yarn for kitchen and household items!
Dishie comes in three color variations: solids, multicolor, and twisted! Take a look at all the color options HERE, including multipacks and the option to buy it as a cone, which has 4x more yardage of the regular skeins! I used a cone for the standard size dish towel and 2 skeins for the small size, which is available in the PDF version of this pattern!
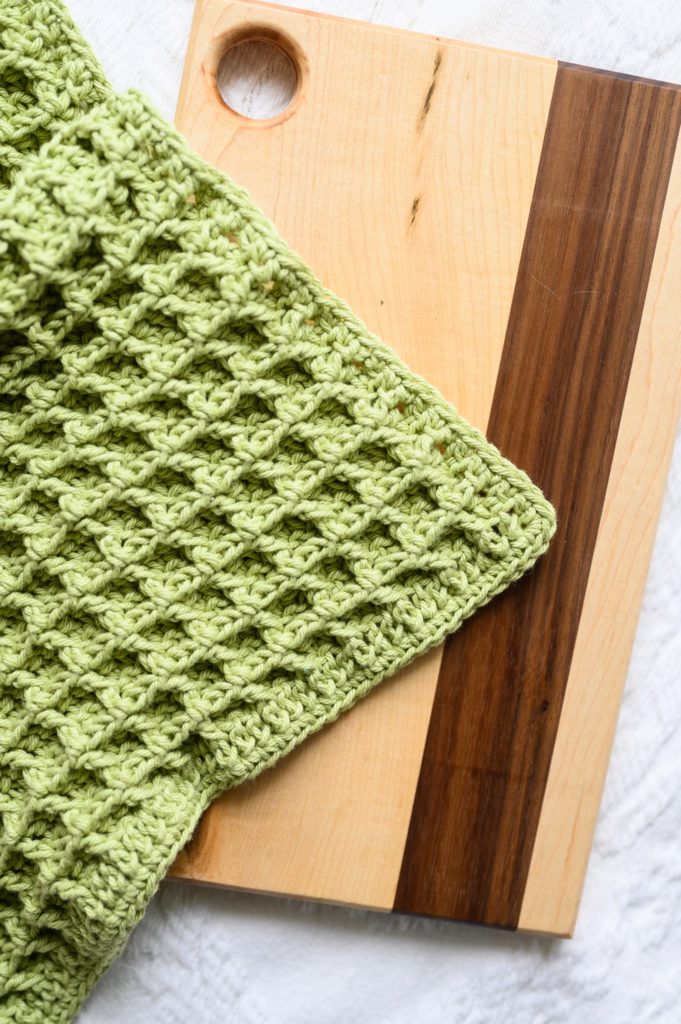
The Stitch
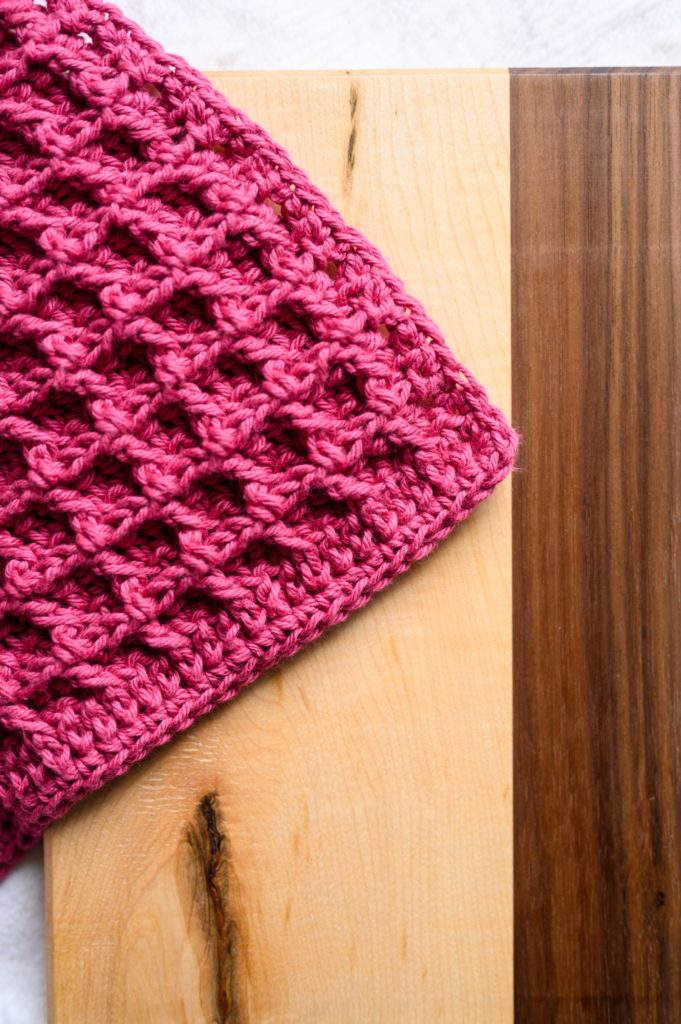
The crochet waffle stitch creates the most gorgeous texture, and it’s so much easier than it looks! It’s a great new stitch for beginners to learn, because it’s essentially just made up of double crochet stitches! If you like the waffle stitch, be sure to check out my Woodland Baby Blanket and Weekender Cowl patterns, which use a variation of this stitch!
Want the PDF version of this pattern?
Grab the PDF version of this pattern on Etsy or Ravelry! The pattern PDF also includes a stitch diagram (which is super helpful if you’re a visual learner!) and instructions for the small version of the Dishie Towel!
Finished Size
- Standard: Length: 28” / 71 cm, Width: 16.5” / 42 cm
- Small (get the PDF download here for the pattern to make the small size): Length: 18” / 46 cm, Width: 12.5” / 32 cm
Gauge
4” = 10 rows + 16 sts in Double Crochet (Dc)
Stitch Abbreviations
- Ch – Chain
- Dc – Double crochet
- FPdc – Front post double crochet
- Sc – Single crochet
- Sl st – Slip stitch
- St(s) – Stitch(es)
Pattern Notes
- Ch 2 at the beginning of each row counts as a stitch.
- Skip the first stitch of each row as you normally would with double crochet.
- The last stitch of each row is worked into the turning chain from the previous row.
- Follow the pattern below for the standard size. Get the PDF pattern download for instructions to make both the standard and small version of this pattern.
Pattern
Ch 66
Row 1: Dc in 3rd ch from hook and in each ch across, turn. – (65 sts)
Row 2: Ch 2 (counts as st here and throughout), dc, *FPdc in next st, dc in next 2 sts; repeat from * to end of row, turn. – (65 sts)
Row 3: Ch 2, FPdc in next st, *dc in next st, FPdc in next 2 sts; repeat from * to end of row, turn. – (65 sts)
Rows 4-67: Repeat rows 2 and 3 thirty-two times.
Row 68: Repeat row 2.
Border
- Do not turn your work before you begin the border.
Step 1 (side edge): Begin where your work left off on the last row, continuing down the length of the dish towel. Work 3 sc into the side of each waffle section (2 dc rows) down until you reach the end of the edge.
Step 2 (bottom edge): Work 3 sc into the corner, then continue along the bottom edge, working 1 sc into each st across.
Step 3 (side edge): Work 3 sc into the corner, then continue working 3 sc into the side of each waffle section (2 dc rows) up the length of the towel.
Step 4 (top edge): Work 3 sc into the corner, then continue along the top edge, working 1 sc into each st across.
Step 5: Sl st across the next 3 sts to even out the edge.
Cut yarn and weave in ends.
Show off your work!
If you’ve enjoyed this pattern, be sure to subscribe to my email list for exclusive updates and discounts on future patterns! For more free patterns from Woods and Wool, check out the free patterns category here on the blog. And don’t forget to use the #dishietowel hashtag on Instagram – I can’t wait to see how your dish towel works up!
Copyright
The Dishie Towel pattern and photographs are property of Woods and Wool and are for personal, non-commercial use only. You may not alter, share, or sell this pattern in any way. However, you are more than welcome to sell the finished product. Please credit Woods and Wool by including a link to the pattern listing if you are selling the finished piece online.
